Last updated on May 22nd, 2026 at 04:34 am
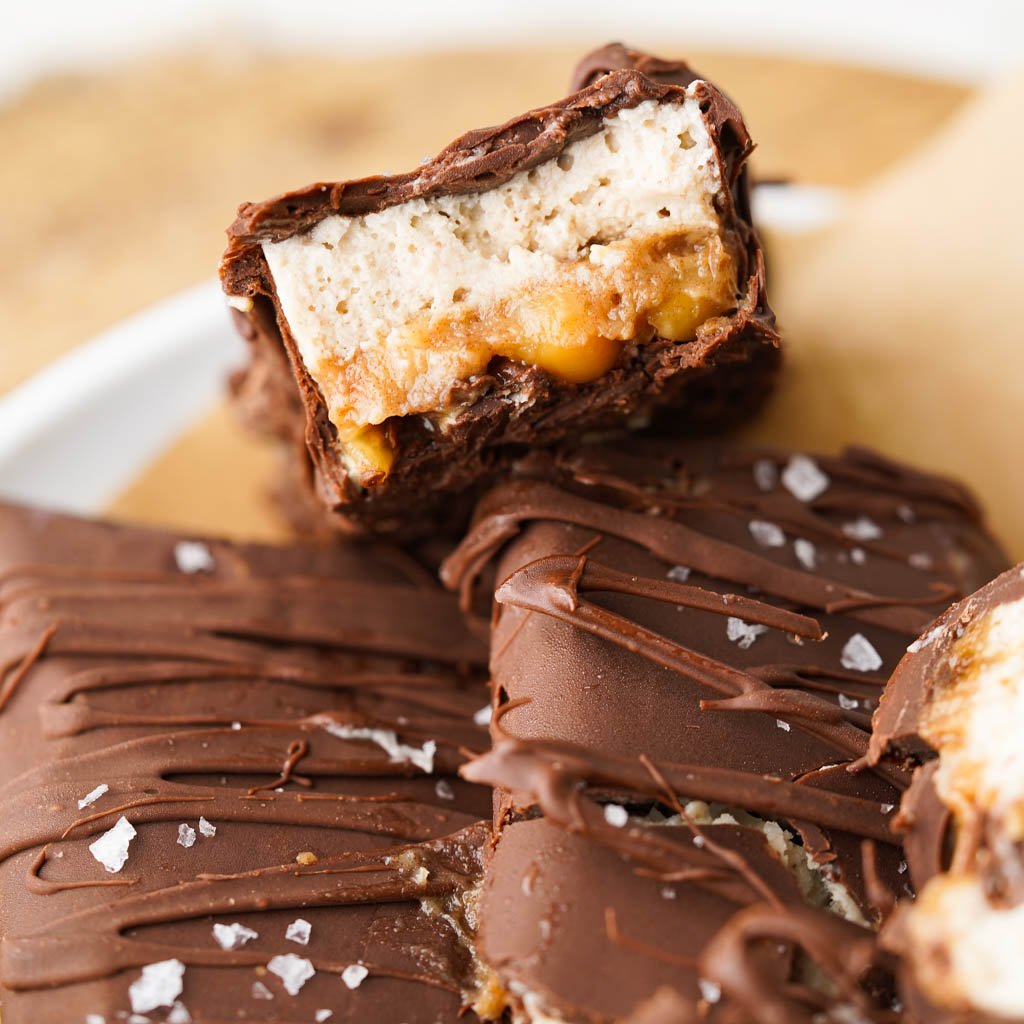
These homemade Snickers ice cream bars are everything you love about the original: creamy peanut butter ice cream, sticky sweet caramel, salty crunchy peanuts, and a thick dark chocolate coating. They are vegan, gluten-free, refined sugar-free, and made with ingredients you can actually feel good about.

Snickers ice cream bars were my childhood. My mom would bring home a whole box and I would immediately start calculating my fair share before anyone else could get to them. The chocolate shell cracking on the first bite, the gooey caramel, the salty peanuts, that creamy peanut butter ice cream underneath. It was the perfect combination.
When I went gluten-free and dairy-free, I stood in the frozen food aisle flipping over every box hoping something had changed. It never did. Dairy, cross-contamination warnings, refined sugar, ingredients I could not identify. The original was officially off the table. So I made my own. And after testing and tweaking, I can honestly say this version is better.

You’ll Love These Homemade Snickers Ice Cream Bars Because They’re:

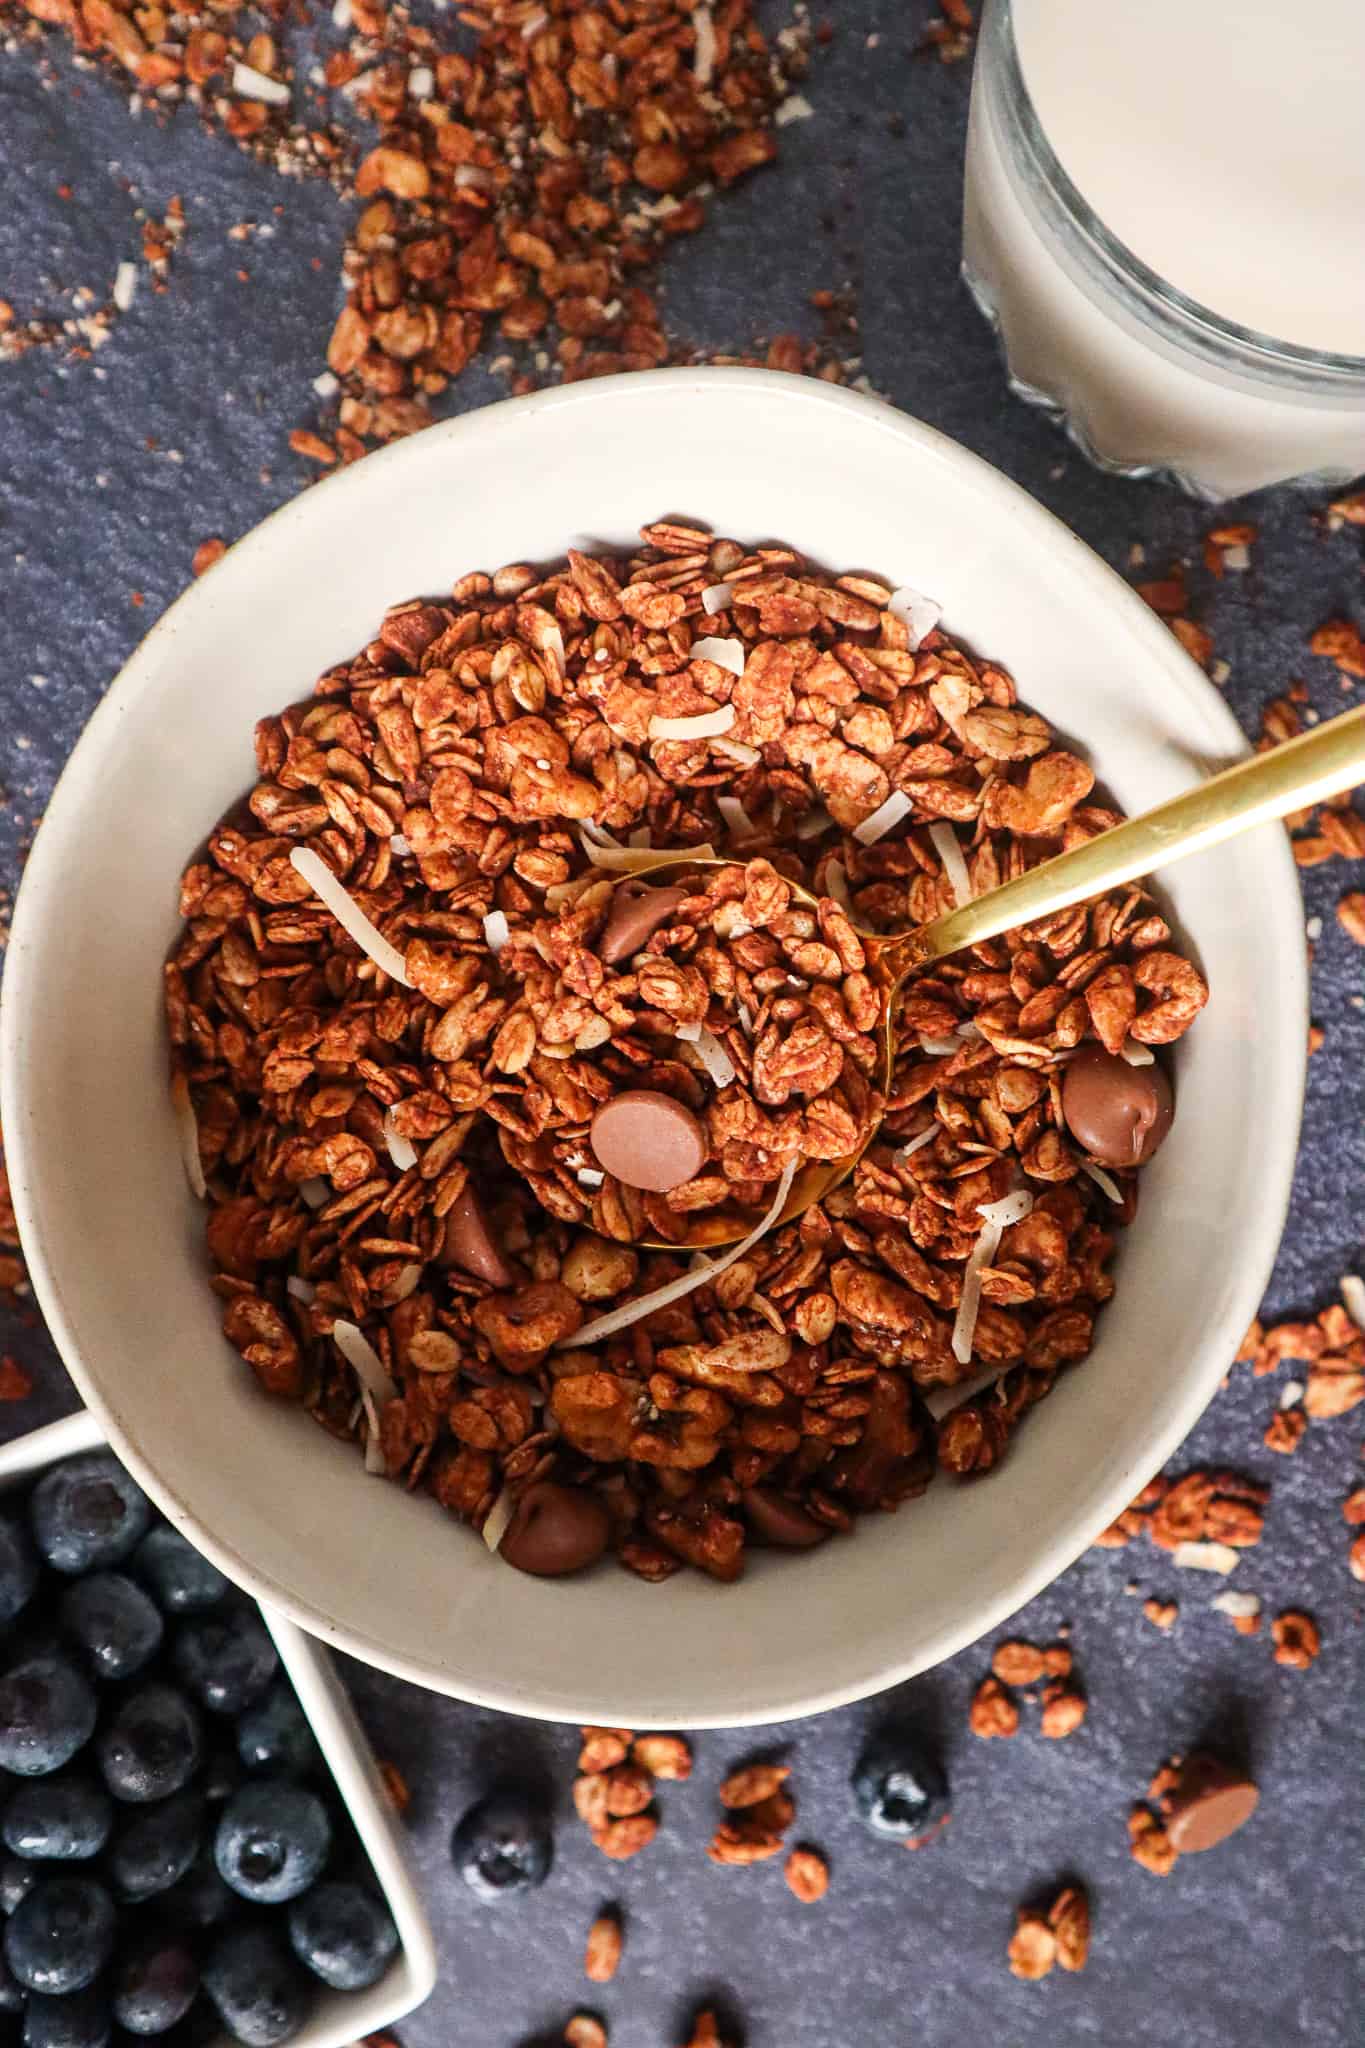
Making this ice cream snickers bar is more of a fun project. If you are looking for a quick fix, and want easy treat that tastes just like a snickers, try my 4-Ingredient Date Snickers Bites! If you love tasty chocolate desserts that are a healthier take on your favorites, you’ll want to try my Chocolate Almond Butter Cups or Homemade Chocolate Bark next!
What layers are used to make this Snickers Ice Cream Bar?
- Peanut Butter Nice Cream is used to make the ice cream filling. It is dairy-free, vegan, and absolutely delicious!
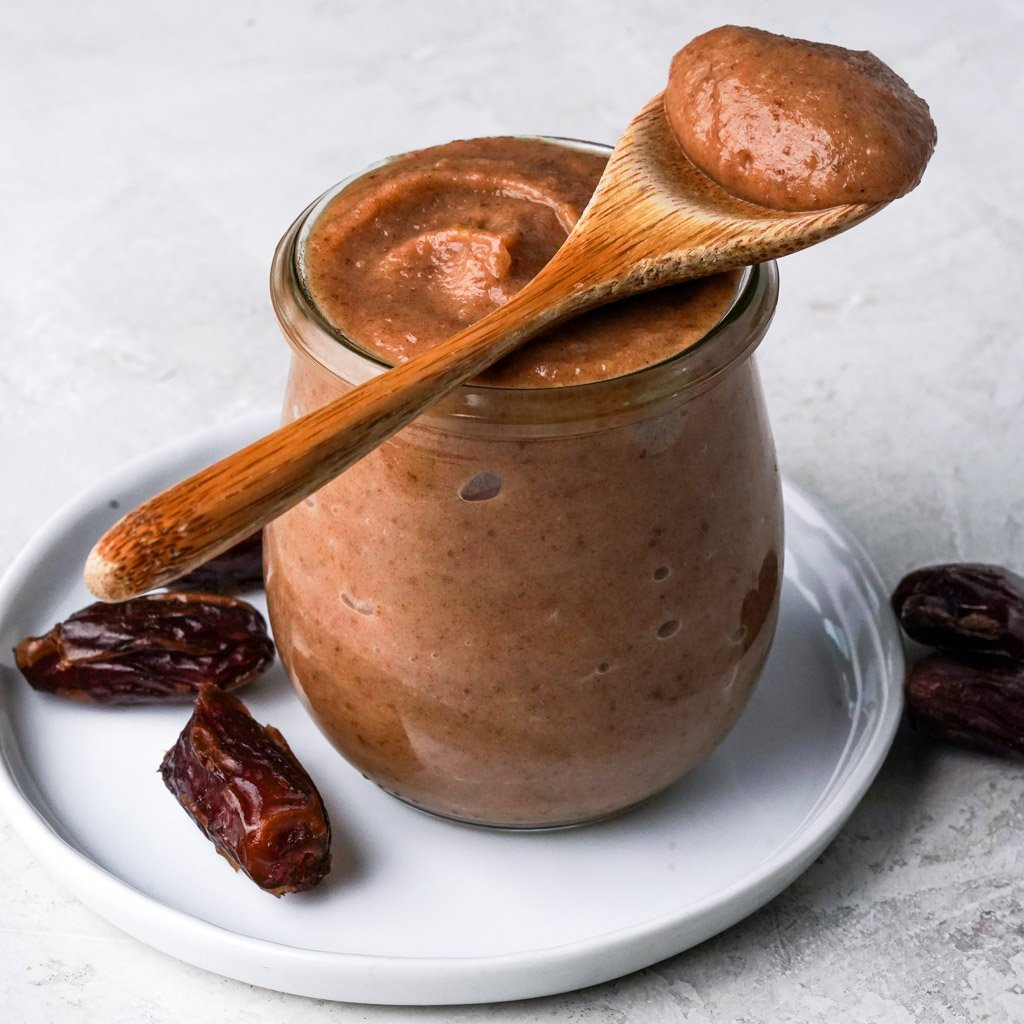
- Date Caramel. The healthy, sweet caramel filling is made with dates. It’s simple to make, just blend dates with liquid and adjust to get your perfect consistency. Here is my quick and easy date caramel recipe! It is naturally sweet and rich, perfect for these ice cream bars! Of course, you can use store-bought caramel to save yourself an extra step!
- Salty Peanuts, because it wouldn’t be a Snickers bar without that perfect crunchy, salty layer!
- Chocolate, and lots of it! These ice cream bars are coated from top to bottom in chocolate so seal in all the delicious layers. Make sure to use Vegan Chocolate, ones without dairy, minimal ingredients, and higher cacao percentages. Here are two great vegan chocolate options: Enjoy Life Semi Sweet Chocolate Mini Chips and Lily’s 70% Dark Chocolate Sea Salt Bar.
How to Make Nice Cream
The first layer of the Homemade Snickers Ice Cream Bar is dairy-free ice cream, aka nice cream, and it is super easy to prepare! You’ll need:
- 1 Can full-fat coconut milk (must use full-fat coconut milk, like this one)
- 1 tbsp Vanilla Extract
- 4 Medjool Dates Pitted (like these Medjool Dates)
- 2 tbsp Peanut Butter
Substitutions
- Don’t Have Dates? That’s okay! Feel free to use the sweetener of your choice. Agave Syrup is a great option. Maple Syrup and Coconut Sugar also work well for tasty refined sugar-free options!
- Add 3-4 tablespoons of your sweetener of choice
- If you are allergic to peanuts, try using almond butter or sunflower seed butter instead!
- You can also use your favorite peanut butter ice cream and skip making the ice cream from scratch.

All you’ll need to do is blend all of the ingredients together in a high-powered blender or food processor until it is smooth and creamy. After blending, you’ll need to transfer the mixture into a parchment-lined bread pan. In order to help achieve the perfect bar shape, use a bread pan. Once the nice cream is in the freezer, you can move on to the next step. The nice cream will need at least 3 hours to freeze over.
Feel free to make the nice cream days ahead. It keeps well in the freezer and can be used whenever you are ready.

Making Date Caramel
Making Date Caramel is easy and only requires a few ingredients and a blender. I love using date caramel because it is a delicious, naturally sweetened alternative to regular caramel. Dates are considered nature’s candy and they have the perfect amount of sweetness to compliment the peanut butter nice cream! You can find my date caramel recipe here. It’s made with 5 simple ingredients:
- 14 Dates
- 1/2 cup non-dairy milk, slowly drizzled in (almond or coconut milk works best)
- 2 tbsp Water
- 1 tsp Vanilla Extract
- 2 tbsp Peanut Butter or Almond Butter (optional)

Here are a few tips for making the date caramel:
- If your dates are too dry (not sticky to the touch), soak them in water for about 10 minutes before blending.
- When blending the dates, slowly add in the water and almond milk until you achieve a uniform consistency. You should not have to add more than ½ cup of water.
- You can add peanut butter to make the caramel a bit creamier. The flavor is subtle and hardly detectable.


The Best Way to Melt Chocolate
Double Boiling Method
Add the crushed chocolate or chocolate chips to a heatproof glass bowl. Place the glass bowl over a pot with simmering water. Using a rubber spatula or whisk, gently stir the chocolate until it is completely melted. This should take about 1-2 minutes. DO NOT add water when mixing the chocolate because this will cause the chocolate to harden.
Microwave Method
Add the crushed chocolate or chocolate chips to a bowl. Place the bowl in the microwave and heat the chocolate for 30 seconds at a time, removing and stirring between each time. Continue to repeat this method until the chocolate has melted.

Shortcuts And Tips To Make The Best Ice Cream Snickers Bars
- The trick here is to move fast. You do not want the nice cream to melt as you are adding the various layers. I like to make the nice cream and freeze it overnight. The next day, I made the date caramel and add the remaining layers. Start early and leave it in the freezer until ready to set with the chocolate. Once assembled, transfer the Homemade Snickers Bars back into the freezer for at least 30 minutes. Once set, you can enjoy whenever you like!
- Use store-bought ice cream and caramel to save time. I prefer to make each layer myself so that I know exactly what is going into my bars. To save time, do what makes you feel comfortable and happy. I recommend making the nice cream at least and using store-bought caramel if you prefer. Use store brought Vegan Caramel, like this one: Coconut Caramel Sauce by Hey Boo.
- I find that melting the chocolate in the microwave is the easiest and fastest. Just be sure to microwave it in 30-second intervals, stirring between each.

Are Snickers Ice Cream bars gluten free?
Store-bought ice cream bars are not gluten-free. Although the bar itself doesn’t contain wheat, if you check the box, you’ll find that the allergy information states: “Contains milk, peanut, and soy. May contain wheat.” So technically, they cannot be considered gluten-free.

Homemade Snickers Ice Cream Bars (Vegan & Gluten-Free)
Ingredients
Peanut Butter Nice Cream
- 1 (13.5 oz) can Full Fat Coconut Milk
- 4 Medjool Dates, pitted (can sub with 3 tbsp agave syrup or maple syrup)
- 2 tablespoons Peanut Butter
- 1 tablespoons Vanilla Extract
Chocolate Drizzle
- 1.5 cups Chocolate Chips (vegan)
- 3 tablespoons Coconut oil
Additional Layers
- 3/4 cup Date Caramel, plus more as desired (or 3/4 cup caramel of choice)
- 1/2 cup Salted Peanuts
Instructions
- Line a 9×5 bread pan or 9×9 cake pan with parchment paper and set aside
- Make The Nice Cream. In a food processor or high-powered blender, add all the nice cream ingredients and blend until smooth. Pour the mixture into the bread pan and place in the freezer until it is fully frozen, at least 3 hours or overnight if possible.
- Make the Date Caramel by adding the ingredients into a food processor or blender and blend until smooth. (You can also use regular store-bought caramel if you prefer).
- Layer The Caramel And Peanuts Onto The Nice Cream. Once the nice cream is set and hardened, remove it from the fridge. Spread 1/2 cup or more of the date caramel (or store-bought caramel) on top in an even layer. Next, add the salted peanuts on top and gently press them down with a spatula.
- Transfer To Freezer. After adding the peanuts, transfer the pan back into the freezer to set, at least 1 hour. You will notice that the date caramel does not become frozen solid. The main thing here is that the nice cream doesn't melt and the caramel is as cold as possible.
- Melt The Chocolate. Use the double boil method or microwave method to melt the chocolate. If using the microwave method, be sure to microwave in 30-second increments and stir well at each 30-second interval. make sure to melt the chocolate in a dish large enough to dip the bars. You can use a mason jar or a large shallow glass container.
- Slice Into Bars. Remove the pan from the freezer, lift the parchment paper to remove the frozen layers from the pan, then place everything (the frozen layers and parchment paper) on a cutting board. Cut into equal-sized bars. Move fast here, if the bars start to melt, place the bars back in the freezer.
- Dip The Bars, Then Freeze. Using tongs, dip the Snickers bars into the melted chocolate. Use a spoon to fill any gaps missing chocolate. Place the dipped Snickers bar on a parchment-lined tray. Move quickly and repeat until all the bars are coated. Then, place the bars in the freezer for at least 30 minutes for the chocolate to set.
- Enjoy The Bars Straight Out Of The Freezer. Once the chocolate sets you can enjoy the Snickers bars right away. You can also store any Snickers bars in an airtight container and keep them in the freezer for later!
Video

Notes
- You can find my easy Date Caramel Recipe Here
- I prefer melting my chocolate using the double boiling method and adding coconut oil as it is melting, but use whatever method you like best!
- These bars can last up to two weeks in the freezer. When you are ready to enjoy them, take the bars out of the freezer and let sit at room temperature for about 5 minutes to soften for a more enjoyable experience!
Nutrition
I hope you enjoy these Homemade Ice Cream Snickers Bars!
If you try the recipe, don’t forget to rate the recipe and let me know what you think in the comments. Leave a quick review & star rating ★ below! Take pictures, tag #goodfoodbaddie, and share them with me on Instagram, Facebook, and Pinterest! I love seeing my recipes come to life in your kitchen.
Made these and they were so good. I had a little trouble with melting the chocolate but I’ll keep at it.
Thanks for the recipe.
I am glad you like the recipe :). Melting the chocolate can be a bit of work. I find it easiest to melt it in the microwave in a glass bowl. If you microwave in 30 second increments, stirring between each interval, the chocolate melts so easily and usually within a couple minutes. Another hack is throwing in a tablespoon of coconut oil. This helps the chocolate set quicker once you pour it on.
This is such a tempting and delicious sweet treat – I love the fact it is healthier, and I can tell you – it tastes even better!
Hi Alexandra! I am so happy you liked!
These are so amazing! I topped with almonds instead of peanuts because that’s what I had, and it was delicious. My coconut ice cream looked a little curdled when i made it, but it didn’t seem to be an issue once it was frozen. May have been an issue with my peanut butter that had added oil, so I’ll try with a natural pb next time. I can’t wait to make these again 🙂
Hi Rachel! I am so glad you liked the recipe! And way to be creative and use what you had on hand! I think I till try it with almonds next. 🙂
Definitely a five-star recipe. I LOVED THIS very much.
Hi Jayne! I am so happy you enjoyed the recipe!
My nephew would love this recipe!!!!!!! Making these with him on Sunday
You had me at healthy snickers lol! The coconut based vegan ice cream sounds delicious as well.
Swapped out all the peanut for almond butter and almonds and it worked like a charm! Love it!
Sounds delish! I’m glad you liked the recipe!
This recipe is so bomb! I’m addicted to these ice cream bars!
Hi Krysten! I am glad I am not the only one! 🙂
Snickers Ice Cream Bars were my FAVE in high school. Thank you for sharing this vegan method–it’s so easy!