Last updated on November 18th, 2023 at 07:57 am
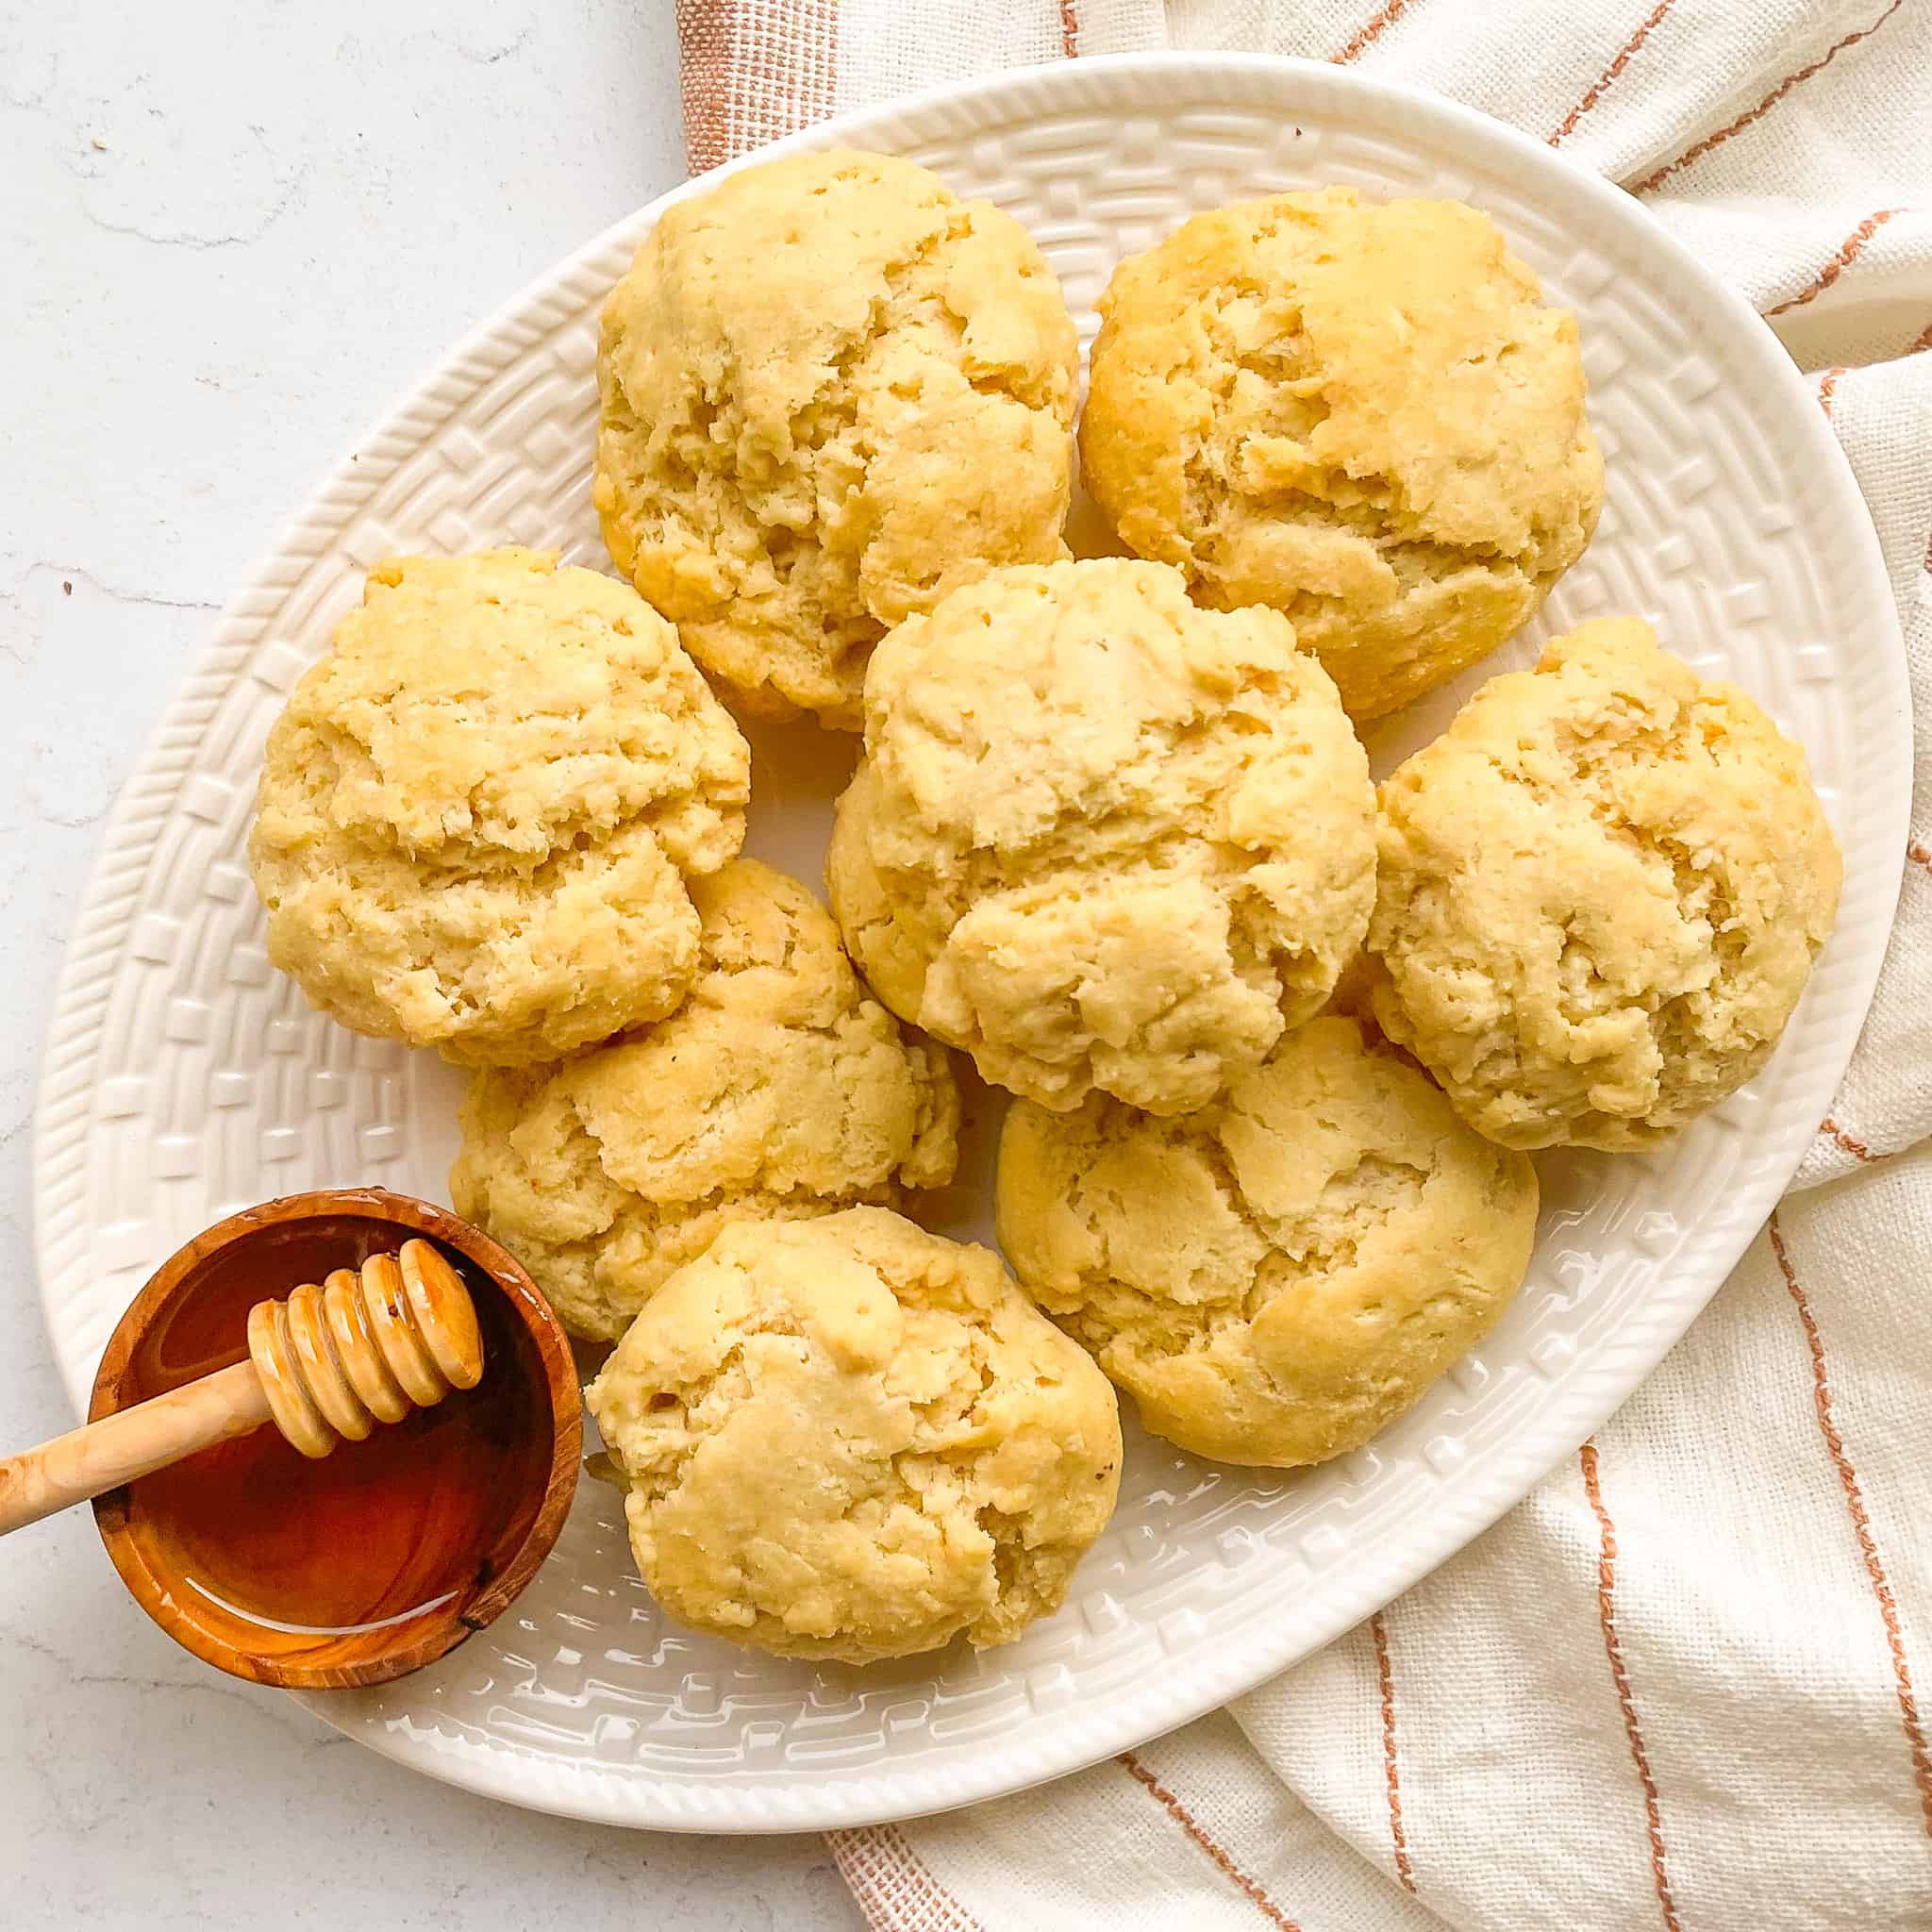
Freshly baked Vegan Gluten-free Biscuits with a golden crust and soft and flaky layers that melt in your mouth. Made with simple ingredients and ready in under an hour, you can indulge in these homemade biscuits for breakfast, lunch, or dinner! (Gluten-Free and Vegan)
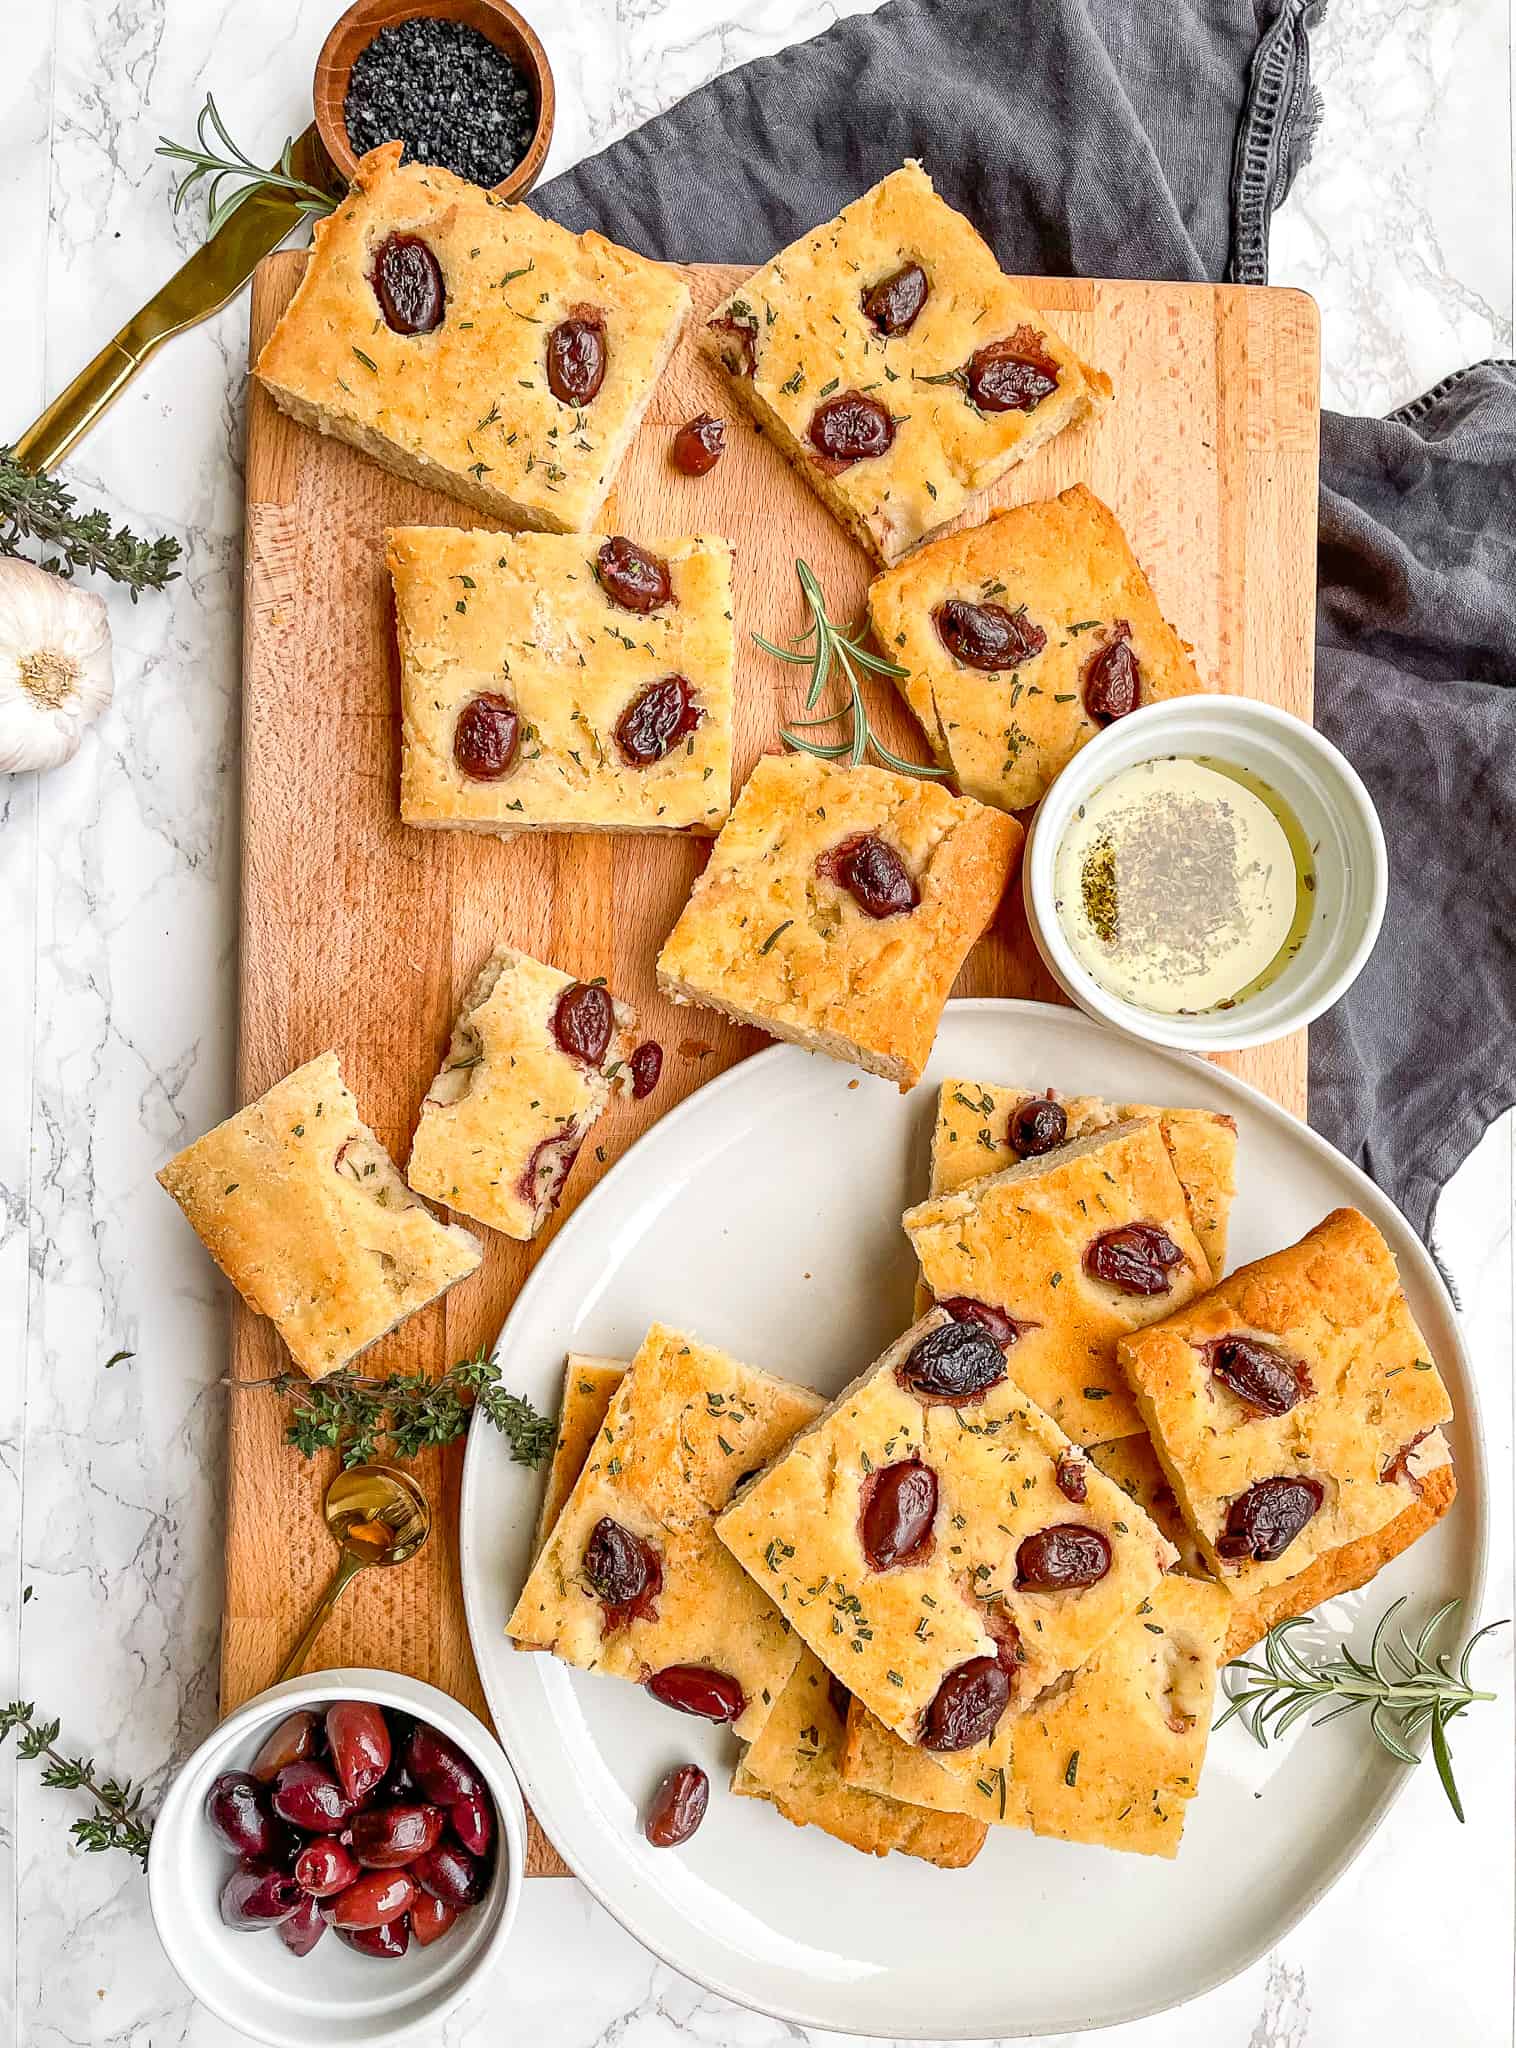
If you are a fan of tasty, gluten-free bread recipes, then you have to try Stuffing Biscuits, Gluten-Free Jalapeno Cheddar Biscuits, Gluten-Free Garlic Bread, or this Gluten-Free Focaccia Bread next!

This content contains affiliate links, which help goodfoodbaddie.com to provide free recipes and resources. As an Amazon Associate, I earn from qualifying purchases. Thank you for your support of the blog!
When I think of the ultimate comfort meal, fluffy traditional buttermilk biscuits are definitely on the menu. It may seem impossible to find gluten-free, dairy-free biscuits that pass the taste and texture test, but fear not!
This Vegan Gluten-free Buttermilk Biscuits recipe is perfect for those who love classic Southern buttermilk biscuits but want an allergy-friendly version that adheres to most dietary restrictions. These biscuits are just as tender and moist as the classic ones and easy to make too!
Homemade Gluten-Free Drop Biscuits

You’ll Love This Vegan Gluten-free Buttermilk Biscuits Recipe! It’s:
- Made with Simple Ingredients – So put down the Pillsbury canned biscuits and Bisquick mix!
- Perfect Texture – Pillowy mounds of fluffy bread, just how we like ’em!
- Flavorful – Because who said vegan and gluten-free equals bland?
- Versatile – There are so many ways to enjoy these, whether alone or as a side dish!
- Easily Customizable– Don’t mind the dairy? Swap the vegan butter and vegan buttermilk for the regular version. Both ways work perfectly!

Ingredients You’ll Need
The best vegan gluten-free biscuits are made with just six simple ingredients. You may be surprised to learn that delicious dairy-free, egg-free biscuits exist! Although this is a recipe for vegan biscuits, you can use regular butter and/or buttermilk as a non-vegan option.
- Gluten-Free All-Purpose Flour: Use a blend that contains xanthan gum because it replaces gluten. Xanthan gum acts as a thickening agent and contributes to the overall texture of the biscuit. I use King Arthur Flour, Gluten-Free Measure for Measure Flour. Get it here on Amazon.
- Cornstarch: This creates those tender, flaky layers we associate with biscuits. I recommend Bob’s Red Mill Cornstarch | Amazon.
- Baking Powder: Use fresh baking powder in order to ensure the biscuits rise properly.
- Butter: You can use vegan or regular butter, depending on your dietary preference. Just make sure the butter is cold and cubed for the overall texture.
- Sea Salt: This adds a savory flavor.
- Vegan Buttermilk: It is so easy to make your own vegan buttermilk. Simply mix non-dairy milk and vinegar and chill it before adding it to the other ingredients. If you do not have vinegar, lemon would be a good substitute. (You can also do this with regular milk as well to make buttermilk at home.)

How To Make Homemade Gluten-free Vegan Biscuits From Scratch
- Prepare your ingredients. Slice the butter into cubes then place it in the fridge to chill before using it. If you are making your own buttermilk, do so first and place the mixture in the fridge to chill and “curdle”.
- Whisk the dry ingredients together. Be sure to measure the flour accurately for the best results. When measuring the flour, do not stick your measuring cup into the flour. Instead, use a spoon to scoop out the flour and transfer it to your measuring cup until you have the necessary amount. This helps to reduce any inconsistencies when making the biscuits.
- Add the cold butter cubes into the flour mixture using a pastry blender or fork. Mix until the butter is broken down and is the size of small peas.
- Then slowly add the chilled buttermilk and mix until a dough is formed.
- Using lightly floured hands, place the dough onto a lightly floured surface and pat the dough to ¾” thick. Chill the dough in the freezer for 10 minutes.
- Using a lightly floured ⅓ measuring cup, scoop out the dough and form it into biscuits. Place the shaped biscuits on a parchment-lined baking sheet. You should be able to make 10-12 biscuits.
- Transfer the biscuits to the freezer and chill for 10 minutes before baking.
- Brush the tops with melted butter (either vegan or regular).
- Bake the biscuits in a preheated oven at 400°F for 15-18 minutes.
- When done baking, let the biscuits cool for 5 minutes on the baking sheet. Finally, serve with your favorite dish and enjoy!

Key Tips And Variations
- Make sure to use Gluten-Free Flour that contains Xanthum Gum
- Use fresh baking soda and baking powder
- Make sure to use enough liquid so that the dough is cohesive and doesn’t fall apart.
- CHILL THE DOUGH
- These are drop biscuits. Use a lightly floured measuring cup to form the biscuits.
Making The Biscuits With or Without Cornstarch
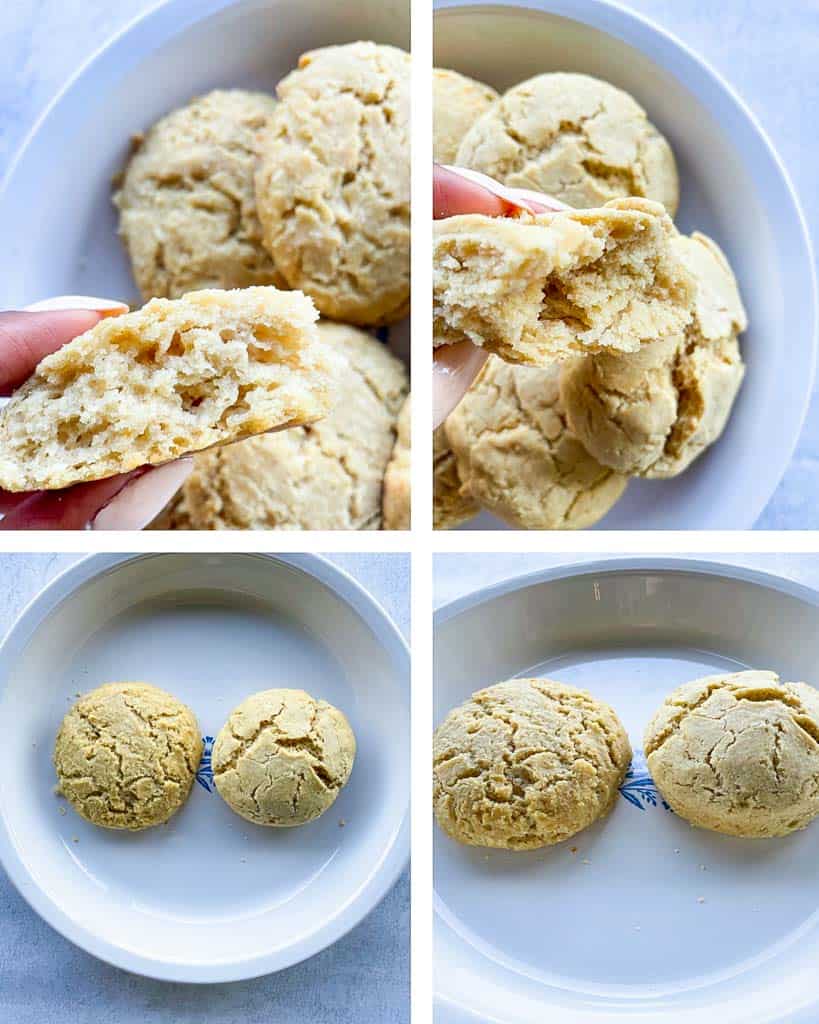
The cornstarch helps to make the biscuits more tender and flaky. It works to create the texture we associate with biscuits and helps these gluten-free biscuits maintain their shape.
You can omit the cornstarch if you like. This recipe has been tested both ways. With the cornstarch, the biscuits rise more, are a bit denser and heartier (similar to traditional biscuit texture made with regular flour), and maintain their shape better. Without the cornstarch, the biscuits did not rise as much, spread more while baking, and the texture was a bit lighter and airier, not quite biscuit texture.
While doing a taste test with my family, they all preferred the biscuits with the cornstarch and said, “They taste like actual biscuits, compared to the others which taste more like a soft bread.”. I recommend using cornstarch in the recipe, but you can always omit it if you like.

Why are my biscuits dry?
- Incorrect Measurements of Flour or Liquid: When making the dough, use precise flour measurements. If the measurements are off and you have too much flour, it will yield dry biscuits. Additionally, ensure that you use enough buttermilk.
- Chilling And RestingThe Dough: Make sure to chill and rest the dough after making it and before baking the biscuits. This step is essential, especially when making gluten-free biscuits.
- Overworking Dough: In order to prevent tough and dry biscuits, do not overwork the dough.
- Over-baking: After 15 minutes in the oven, watch the biscuits in order to prevent them from over-baking and drying out. Remove once the tops are golden brown. They will continue to cook as they cool down so let them sit for a few minutes before eating.
- Let the biscuits cool: Cooling is a must. Skipping this step results in gummy biscuits.
Ways To Serve Gluten-Free Biscuits
You can enjoy these biscuits any time of day. Here are some tasty ways to add them to your next meal.
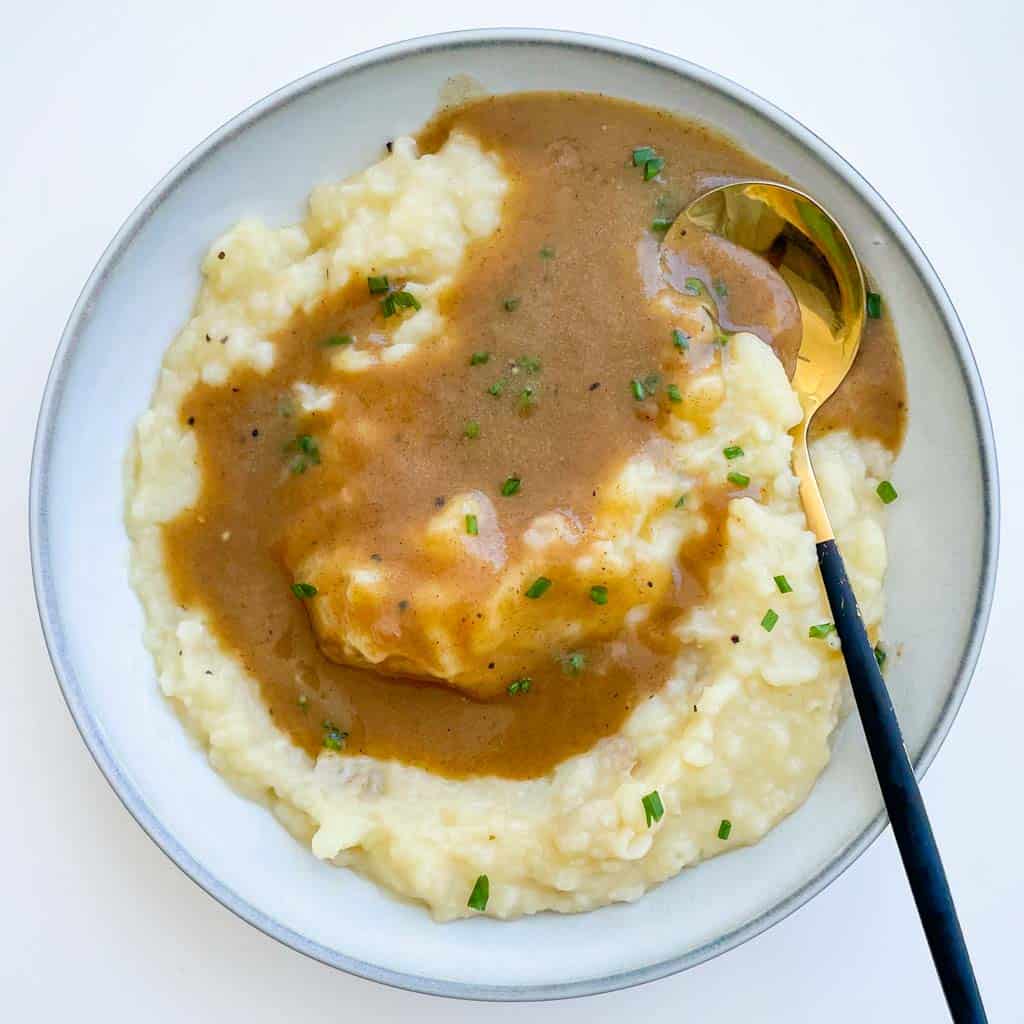
- Serve with gravy. Make your own gluten-free gravy and smother your biscuits in them for a delicious treat!
- Side Dish: These biscuits would go well alongside your favorite savory dinner meals like this Red Wine-Braised Beef Brisket, Maple Glazed Roasted Turkey, or these Instant Pot Ribs. These biscuits would go perfectly with your breakfast faves too, like over easy eggs or scrambled duck eggs.
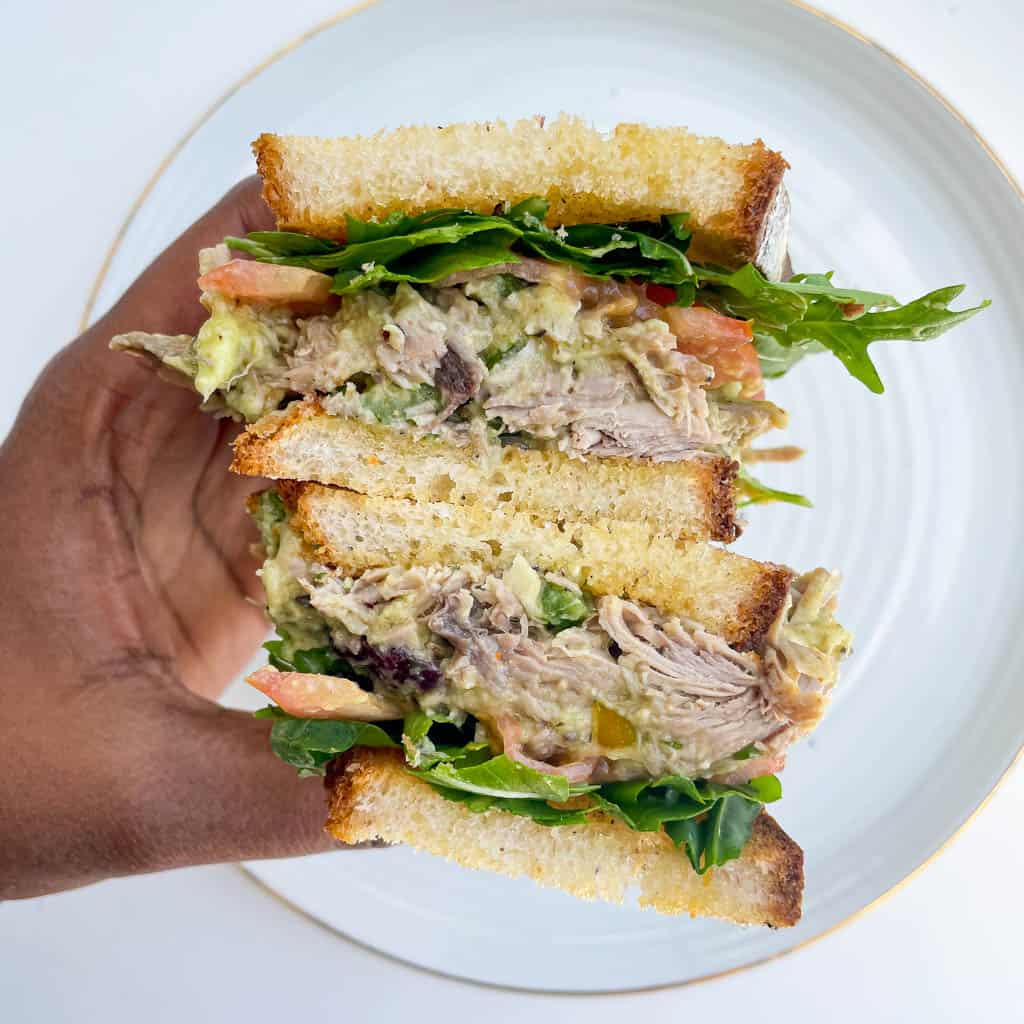
- Sandwich: Cut that biscuit in half and make a breakfast sandwich: Bacon and eggs, or a vegan version like tofu and avocado. Get creative because the possibilities are endless!
- Snack: Biscuits are great as a stand-alone snack. Vegan biscuits and gravy would be a delightful treat. But you could also use butter, honey, or jam. I like to serve these biscuits with a huge dollop of my Homemade Raspberry Chia Jam!

Common Questions:
Buttermilk is naturally gluten-free. Feel free to use regular buttermilk instead of vegan buttermilk if you prefer.
Let’s troubleshoot! To ensure the biscuits rise, make sure the baking powder and soda are fresh. The butter should be very cold and cut into cubes and the buttermilk should be chilled). Do not overwork the dough and make sure you are baking at high heat (400°F).
Yes! Prepare the dough then freeze it. When you are ready to cook, place the frozen biscuits in a preheated oven at 450°F for about 20 minutes.
Store cooked biscuits in the freezer in order to retain their moisture. Reheat in the microwave for about 30 seconds or in a toaster oven or air fryer for 5 minutes.

I hope you enjoy this Vegan Gluten-free Biscuits Recipe!
If you try the recipe, don’t forget to rate the recipe and let me know what you think in the comments. Leave a quick review & star rating ★ below! Take pictures, tag #goodfoodbaddie, and share them with me on Instagram, Facebook, and Pinterest! I love seeing my recipes come to life in your kitchen.
More Gluten-Free Bread Recipes To Try!
- Gluten-free Honey Cornbread Recipe
- Vegan Gluten-free Pumpkin Chocolate Chip Bread
- Delicious Gluten-free Sweet Potato Bread
- Gluten-free Chocolate Avocado Bread
- Easy Gluten-Free Focaccia (With Video)
- Gluten-Free Jalapeno Cheddar Biscuits
Vegan Gluten-free Buttermilk Biscuits
Ingredients
- 2 ¼ cup Gluten-Free All-Purpose Flour (that contains xanthum gum)
- 2 tbsp Cornstarch
- 1 tbsp Baking Powder
- 1 tsp Baking Soda
- ½ tsp Sea Salt
- 8 tbsp Butter, cut into small cubes vegan or regular
- 1 cup Vegan Buttermilk, chilled, plus more as needed (1 cup non-dairy milk + 1 tbsp vinegar)
Instructions
- Slice the butter into cubes and place it in the fridge to chill before using it. If you are making your own buttermilk, do so first and place the mixture in the fridge to chill and “curdle”.
- Whisk the dry ingredients together.
- Add the butter into the flour mixture using a pastry blender or fork. Mix until the butter is broken down and is the size of small peas.
- Then slowly add the chilled buttermilk and mix until a dough is formed.
- Using lightly floured hands, place the dough onto a lightly floured surface and pat the dough to ¾” thick. Chill the dough in the freezer for 10 minutes.
- Using a lightly floured ⅓ measuring cup, scoop out the dough and form it into biscuits. Place the shaped biscuits on a parchment-lined baking sheet. You should be able to make 10-12 biscuits.
- Transfer the biscuits to the freezer and chill for 10 minutes before baking.
- Brush the tops with melted butter.
- Bake the biscuits in a preheated oven at 400°F for 15-18 minutes.
- When done baking, let the biscuits cool for 5 minutes on the baking sheet. Then, serve with your favorite dish and enjoy!
Notes
- Vegan Buttermilk: It is so easy to make your own vegan buttermilk. Simply mix non-dairy milk and vinegar and chill it before adding it to the other ingredients. If you do not have vinegar, lemon would be a good substitute. (You can also do this with regular milk as well to make buttermilk at home.)

I have never made biscuits before and thought I might screw it up, but I read through everything and followed all the directions and the biscuits turned out great! So thank you for giving all the details. I haven’t had a biscuit in a long time and this recipe hit the spot.
Hi Mary! I am so happy to hear it! These are my favorite biscuits so I am glad you enjoyed. Thanks for leaving a review 🙂
Thank you. I’ve tried for years to make allergy friendly biscuits with no luck until now. For the leftover biscuits do you normally put them in the fridge or just leave them out in an air tight container?
Hi Kelly, I am glad you like the recipe. I usually put them in an airtight container and keep in the fridge and reward for 10 seconds or so in the microwave.
I did it! Second time is a charm. Don’t be like me and accidentally use 1 TBS of baking SODA instead of 1 TSP…and overlook the baking POWDER. That was a real bummer and felt like $27 down the drain with the cost of GF flour and vegan butter, ha. But a few days later I tried again and got it right! It’ll be nice to have a biscuit or two to eat with Thanksgiving dinner. Also, I found that lemon juice seemed to make my unsweetened Silk almond milk curdle slightly better than plain white vinegar (used that the first time). Used Bob’s 1-to-1 flour and Earth Balance butter (regular, not soy free).
Hi! Thanks for giving the recipe a second try! I am so happy it worked for you! Happy Thanksgiving 🙂
I’ll start by saying I loved the final product but have to say o struggled a bit with the way it was written.
1- there is a typo by listing baking powered twice. I figured it was baking soda and baking powder but there are two different amounts
2- mixed all of (what I thought were) the dry ingredients but then saw salt under a wet ingredient so had to go back and add
3- in the ingredients list, adding that the flour should include xantham gum is incredibly helpful. I went back and found it in the body of the post
Again- the end result was great but these things added a ton of frustration along the way.
Hi Jenn! Thank you for the feedback. I have fixed the recipe card to make the ingredient list easier to follow and fixed the typo. With all my recipes, I include tips and details in the post. It takes about 5 minutes to read and helps to alleviate any confusion when it comes to ingredients and how to make the recipe, and it also includes step-by-step pictures. I am glad you enjoyed the final product. I hope you find the recipe easy to make should you choose to make these biscuits again. Thanks for leaving a review 🙂
Made a batch today and the whole family fell in love with your recipe! So yummy! Thank you!
Hi Nora! I am happy to hear it!
these vegan biscuits turned out so good! so fluffy and delicious! I’ll be making them for thanksgiving again!
My biscuits turned out very dense and hard, they didn’t rise at all. I had to throw them all away. I didn’t substitute anything and followed the recipe. I added the milk little by little as suggested and ended up leaving 1/8th cup of milk cause the dough formed and wasn’t crumbly. Not sure if it was supposed to by sticky though cause mine wasn’t that sticky.
Hi Lisa, that is unfortunate to hear. I’ve made these several times and haven’t had any issues. Since your comment, I’ve also made them again to troubleshoot the recipe, if needed. When I made the biscuits they came out great. A few things that make all the difference in making these biscuits are measuring the flour correctly, using cold butter and non-dairy milk, chilling the dough twice.
I wonder what didn’t work for you. Did you use Gluten-Free flour? If so, did it contain xantham gum? I also recommend using all the milk. I have a section of tips to prevent dense, dry, biscuits in this post. I also tested the recipe without cornstarch as well. Without the cornstarch, the biscuits are lighter but lack the traditional biscuit texture. So, making them without cornstarch is also an option. Please note: When I made the biscuits with the cornstarch the texture was great, not dense and hard. So I am not sure exactly what went wrong for you.
I hope this helps!