Last updated on August 27th, 2026 at 08:42 am
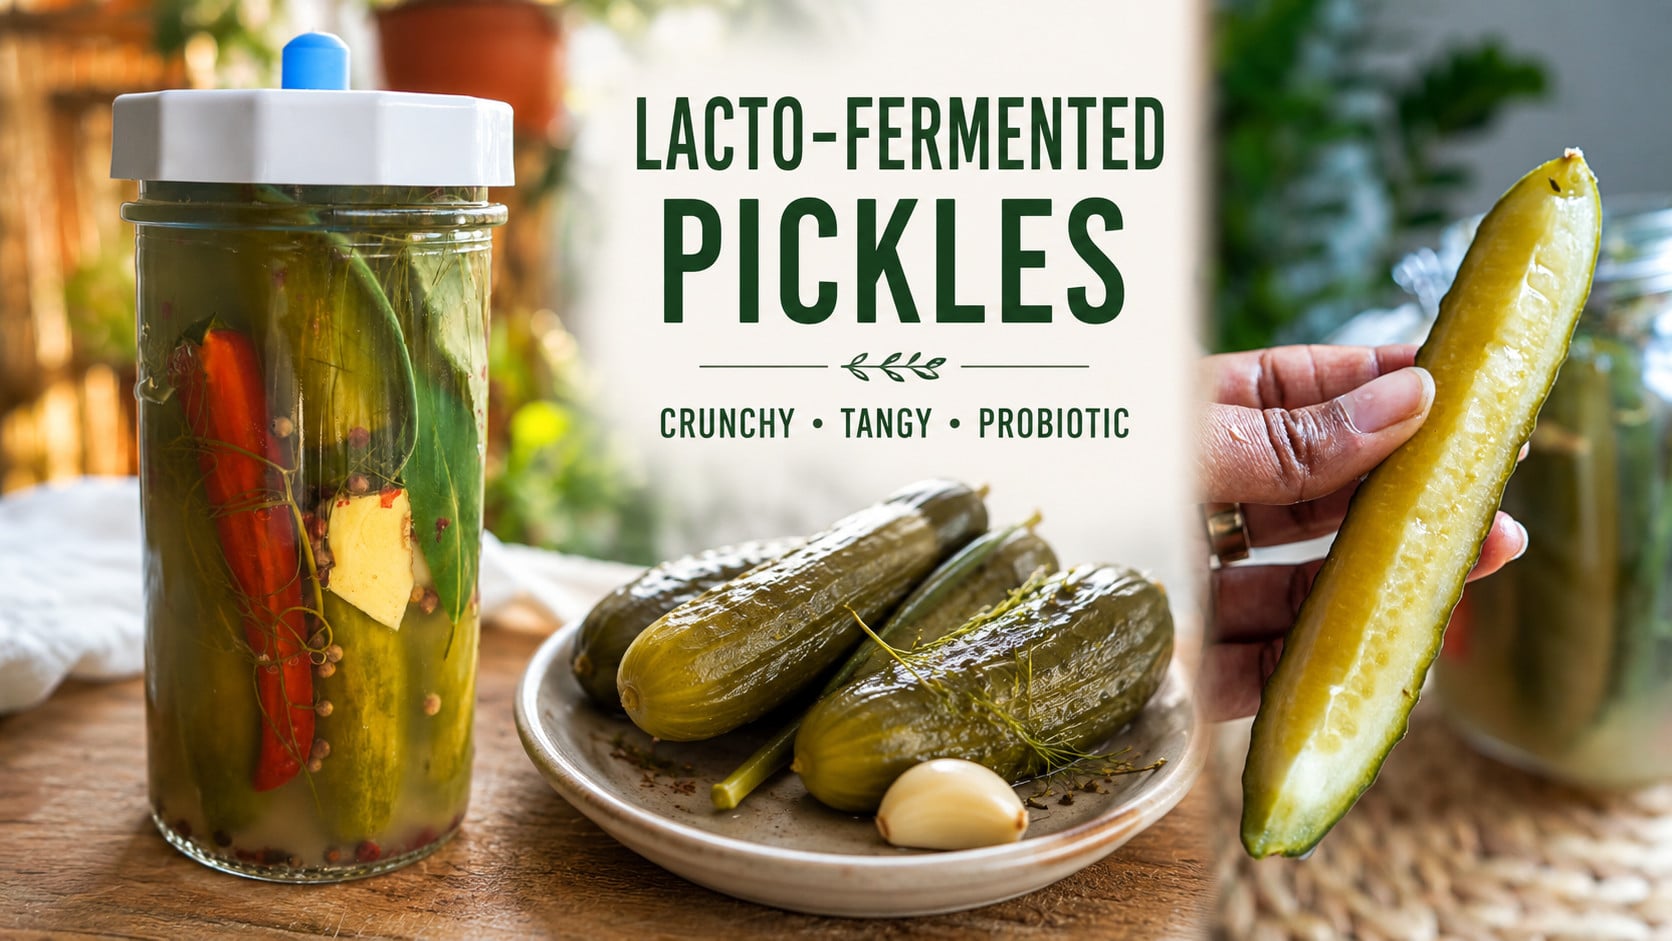
LACTO-FERMENTED CUCUMBERS. This lacto-fermentation method uses just salt, water, and time to transform fresh cucumbers into probiotic-rich pickles with big flavor and a satisfying crunch. My sweet spot is 4 days for perfectly crisp results, though you can ferment longer for a tangier bite.
Why Make Lacto-Fermented Pickles?
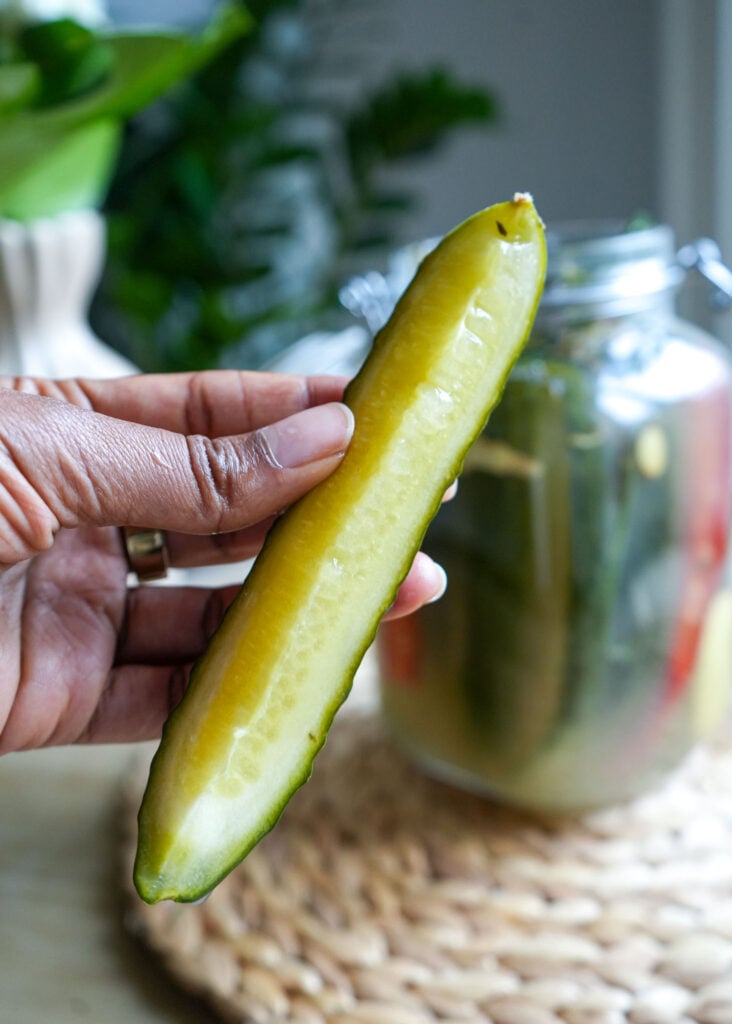
If you’ve only ever had vinegar pickles, you’re in for a surprise. Lacto-fermented pickles rely on beneficial bacteria and salt, rather than vinegar, to naturally preserve the cucumbers. As they ferment, they develop a bright, tangy flavor and are filled with live probiotic cultures that help support a healthy gut.
Here are a few reasons I love making them:
- Naturally rich in probiotics: Because they’re not pasteurized, homemade fermented pickles contain live probiotic cultures that support gut health.
- Perfectly crunchy: Fermented pickles stay crisp and develop an incredible texture without needing artificial preservatives.
- Simple ingredients: Just cucumbers, salt, water, and a few fresh herbs and spices.
- Easy to customize: Add garlic, dill, ginger, jalapeños, or your favorite spices to create your own signature flavor.
- Budget-friendly: A batch of homemade fermented pickles costs a fraction of store-bought fermented varieties.
- Long-lasting: Once refrigerated, they’ll keep for 2 to 3 months while continuing to develop even more flavor.
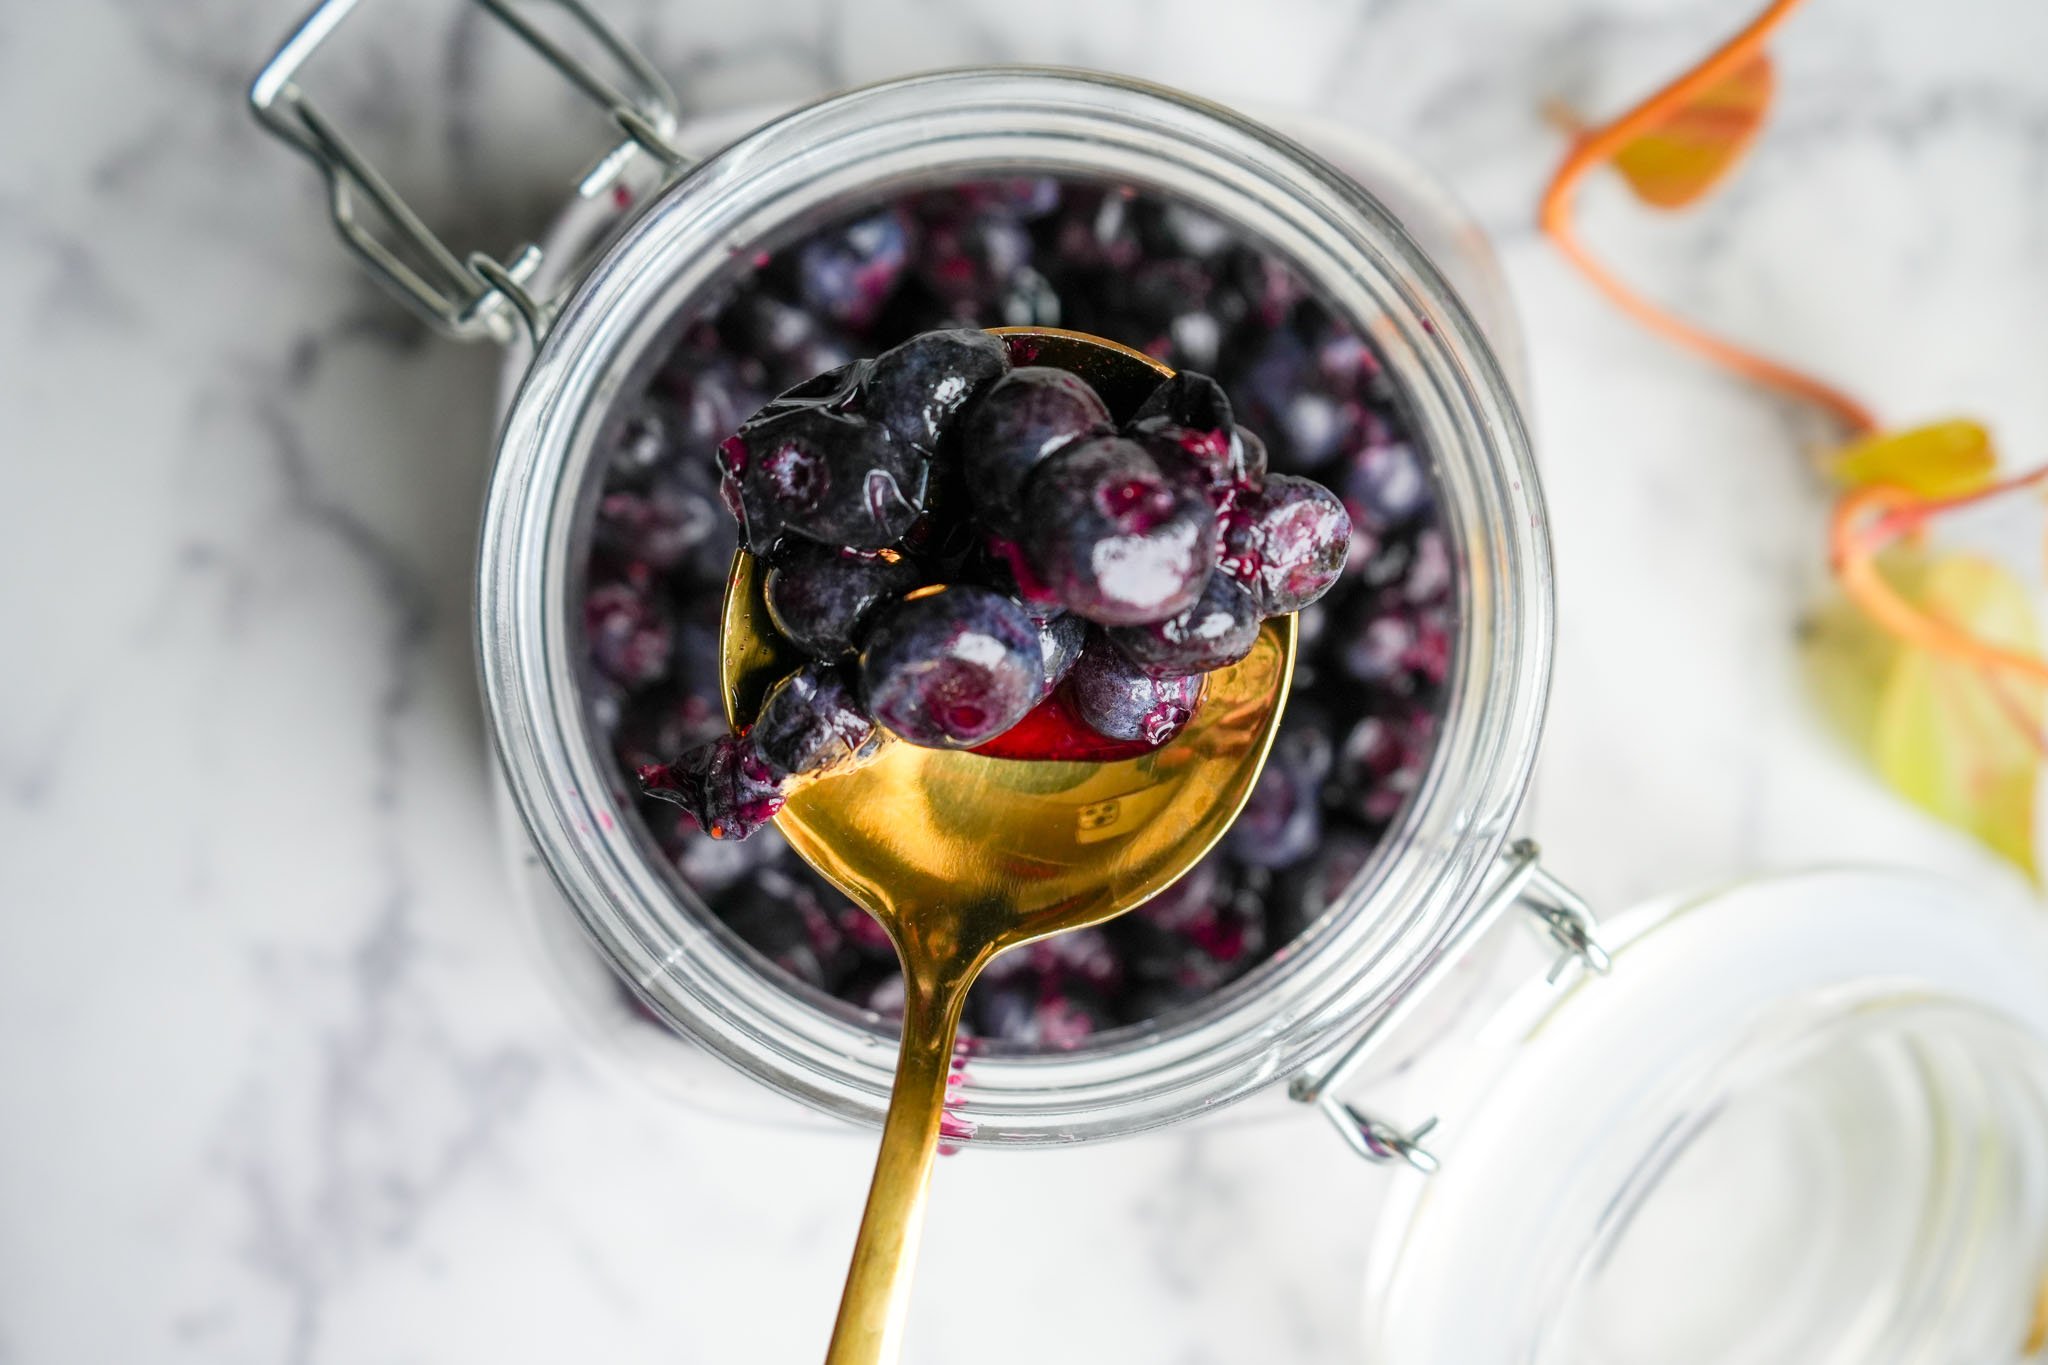
Once you make your own fermented pickles, it’s hard to go back. They’re fresher, crunchier, and packed with flavor you simply can’t get from most store-bought pickles. For more lacto-fermented recipes, try my Lacto-Fermented Peaches and Fermented Blueberries next.
Lacto-Fermented Cucumbers (Probiotic Pickles)
Ingredients
- 6-10 Pickling Cucumbers (I've also made them with successfully Persian Cucumbers)
- 1 Bunch Fresh Dill
- 1/2 tablespoon whole black peppercorns
- 1 teaspoon pink peppercorns optional
- Filtered or dechlorinated water
- Non-iodized sea salt (to make a 3% salt brine)
Instructions
- Prepare the cucumbers. Wash the cucumbers well and trim about ⅛ inch off the blossom end (the end opposite the stem). This helps keep the pickles nice and crisp.
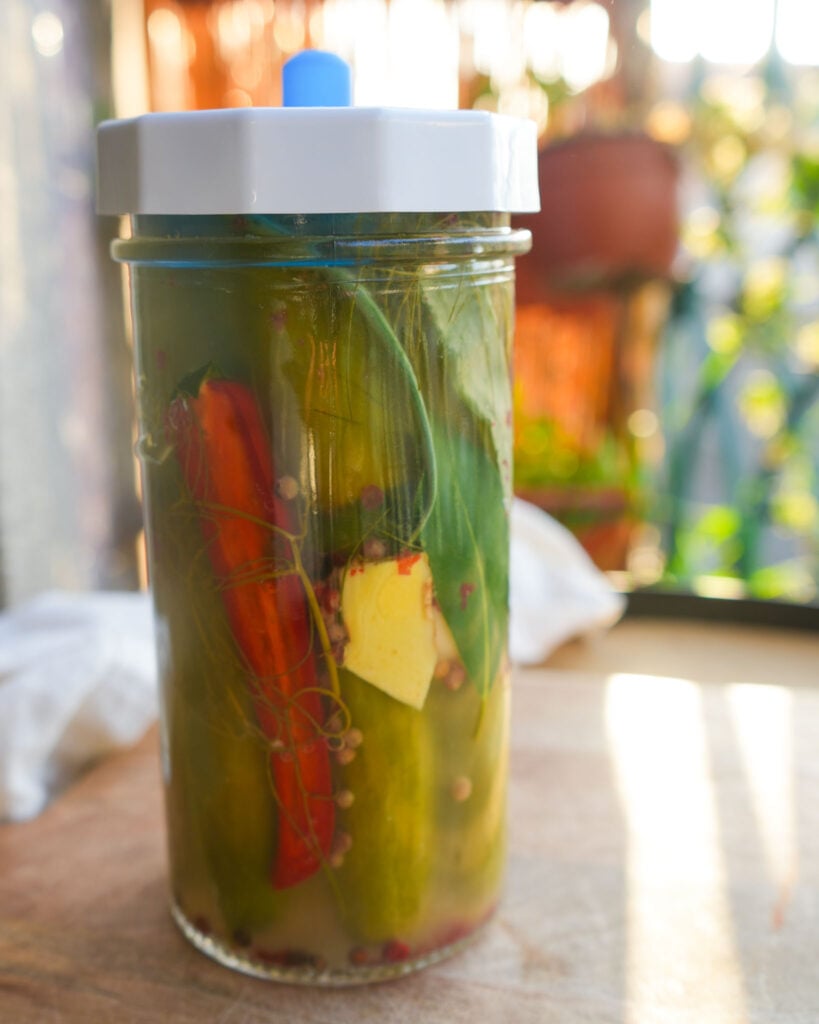
- Pack the jar. Add the dill, black peppercorns, and any optional add-ins like jalapeño or ginger to a clean, sterilized jar. Pack the cucumbers in tightly, leaving about 1 inch of headspace at the top.
- Measure the water. Add the jar with cucumbers to the scale and zero out the scale. Add water until covered and measure the weight in grams. Mulltiply this number by 0.03 (3%) to determine how much salt is needed. Add the measure salt into the jar, seal tightly and gently shake to dissolve the salt. No kitchen scale? Simply use 1 tablespoon of non-iodized salt for every 2 cups of water. Repeat this step until the cucumbers are compltely submerged in the salt brine.
- Keep everything submerged. Make sure the cucumbers are completely covered by the brine. Place a fermentation weight on top if needed to keep them below the surface.
- Ferment. Loosely cover the jar or use a fermentation lid and let it sit at room temperature (68–75°F / 20–24°C), away from direct sunlight, for 3–6 days. If using a regular lid, burp the jar once a day to release any built-up pressure. (burping the jar= opening the jar for 30-60 seconds to release the built up gas, then releasing the jar)
- Taste and refrigerate. Begin tasting around day 3. My personal sweet spot is day 4, when the pickles are perfectly crunchy with just the right amount of tang. Once they've reached your preferred flavor, seal the jar with a regular lid and transfer it to the refrigerator.
Video

Notes
No Kitchen Scale? Simply mix 1 tablespoon salt with 2 cups filtered water to make your brine. (repeat to make enough brine to fully cover the ingredients)
Store your fermented pickles in the refrigerator for up to 2–3 months. They’ll continue to slowly develop flavor over time, becoming tangier the longer they sit.
Tips for the Best Fermented Pickles
- Always keep the cucumbers fully submerged beneath the brine to prevent mold.
- Use filtered or dechlorinated water, since chlorine can interfere with fermentation.
- Fermentation happens faster in warmer kitchens and slower in cooler temperatures.
- My favorite flavor develops after about 4 days, when the pickles are still extra crisp.
Nutrition
Choosing the Right Salt
The type of salt you use matters. For the best fermentation results, use a non-iodized salt, such as sea salt, kosher salt, or pickling salt. Avoid iodized table salt, as iodine and anti-caking agents can interfere with fermentation and may make the brine cloudy.
What Salt Percentage Works Best?
For most vegetables, a 2–3% salt brine works beautifully, but I prefer a 3% brine for cucumbers. It helps keep them crisp while creating the ideal environment for beneficial bacteria to thrive. If you’re fermenting softer vegetables or leafy greens, a 2% brine is often a better choice.
My go-to: 3% salt brine for the crunchiest fermented pickles.
Don’t forget to leave a comment and ⭐️⭐️⭐️⭐️⭐️ star rating down below if you try this recipe! Subscribe to my newsletter and follow along on Instagram for more recipes and updates.