Ever since I learned how easy it is to make homemade sauerkraut, I haven’t bought it from the store. I’m sharing everything I’ve learned along the way to help you make perfectly tangy, crunchy, probiotic-rich sauerkraut every time. All you truly need is cabbage and salt.

What Is Sauerkraut?
Sauerkraut is simply cabbage fermented with salt using a process called lacto-fermentation. Despite the name, there’s no dairy or lactose involved. “Lacto” refers to lactic acid bacteria, naturally present on vegetables, that convert the cabbage’s natural sugars into lactic acid.
That lactic acid is what gives sauerkraut its signature tangy flavor, naturally preserves the cabbage, and creates the acidic environment that allows beneficial bacteria to thrive while helping prevent harmful microbes from taking over. The result is crunchy, tangy cabbage filled with live cultures and beneficial organic acids, all from just cabbage, salt, and time.

INGREDIENTS YOU NEED TO MAKE SAUERKRAUT
For traditional sauerkraut or German sauerkraut, you only need cabbage and salt.The carrots, caraway seeds, and fresh dill in my recipe are completely optional, but I love what they add. The carrots bring a little sweetness and color, the caraway gives that truly classic sauerkraut flavor, and the dill makes everything taste fresh and bright.
- 1 large head of cabbage, shredded (I used 1060g of shredded cabbage)
- 2-3 large carrots, shredded (I used 150g shredded carrots)
- 2 to 3% sea salt (I used 37g sea salt, which is 3% salt percentage) *Remember: Avoid using iodized table salt and any salt containing anti-caking agents or chemical additives. (sea salt is best)
- 2 to 3 teaspoons caraway seeds (gives that traditional sauerkraut flavor)
- 3 tablespoons fresh dill

Let’s Talk Salt
Salt is one of the most important parts of making sauerkraut. It draws water from the cabbage to create the brine, helps keep the cabbage crisp, and creates an environment that favors lactic acid bacteria while slowing the growth of unwanted microbes.
For fermentation, use a non-iodized salt such as fine sea salt, kosher salt, or pickling salt. I prefer fine sea salt because it dissolves easily and is simple to weigh. Avoid iodized table salt and salts with unnecessary additives or anti-caking agents when possible.
For sauerkraut, a 2–3% salt ratio works well. I personally use 3%, especially for longer ferments.
How to Calculate the Salt
The easiest and most accurate way to measure salt is with a kitchen scale. Weigh your prepared cabbage in grams, then multiply that number by your desired salt percentage.
- For my 3% salt ratio, simply: Weight of cabbage × 0.03 = grams of salt
- For example: 1,000g cabbage × 0.03 = 30g salt
- For a 2% ferment, multiply by 0.02 instead. This formula works no matter how big or small your batch is.
How To Make Sauerkraut
1. Prep and weigh the vegetables
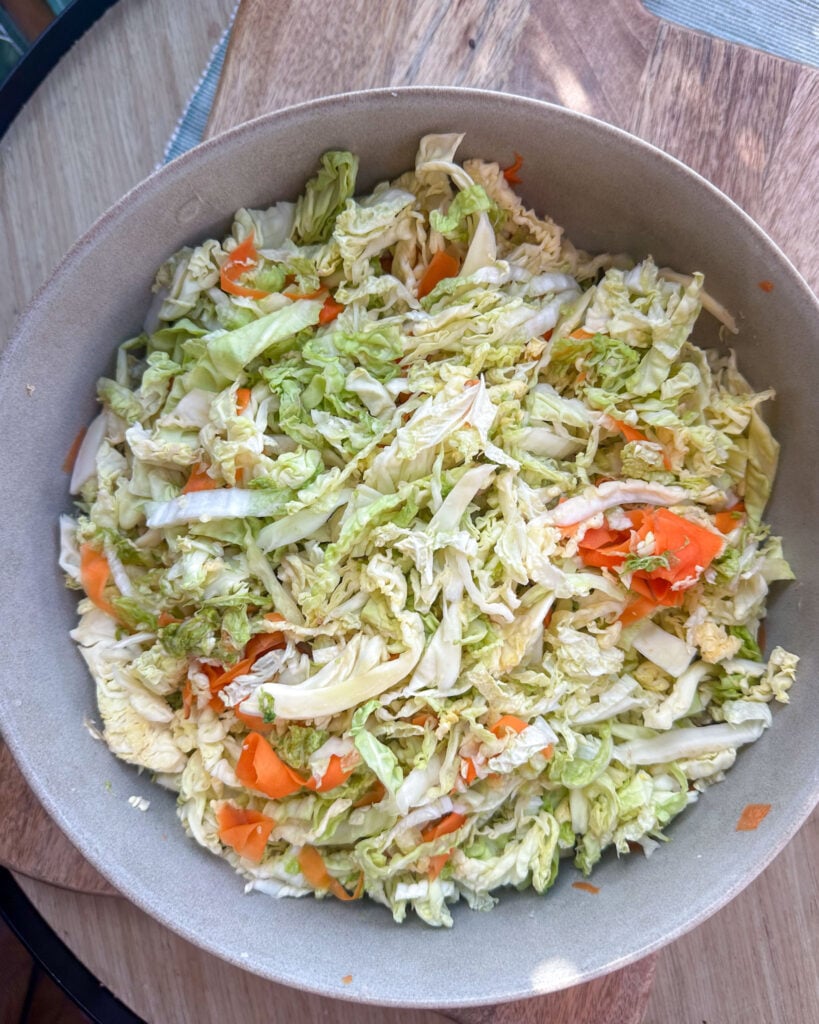
Remove any damaged outer leaves from the cabbage, then thinly slice the cabbage and carrots. Place a large mixing bowl on a kitchen scale and zero it out. Add the shredded vegetables and note the total weight.
2. Calculate the salt
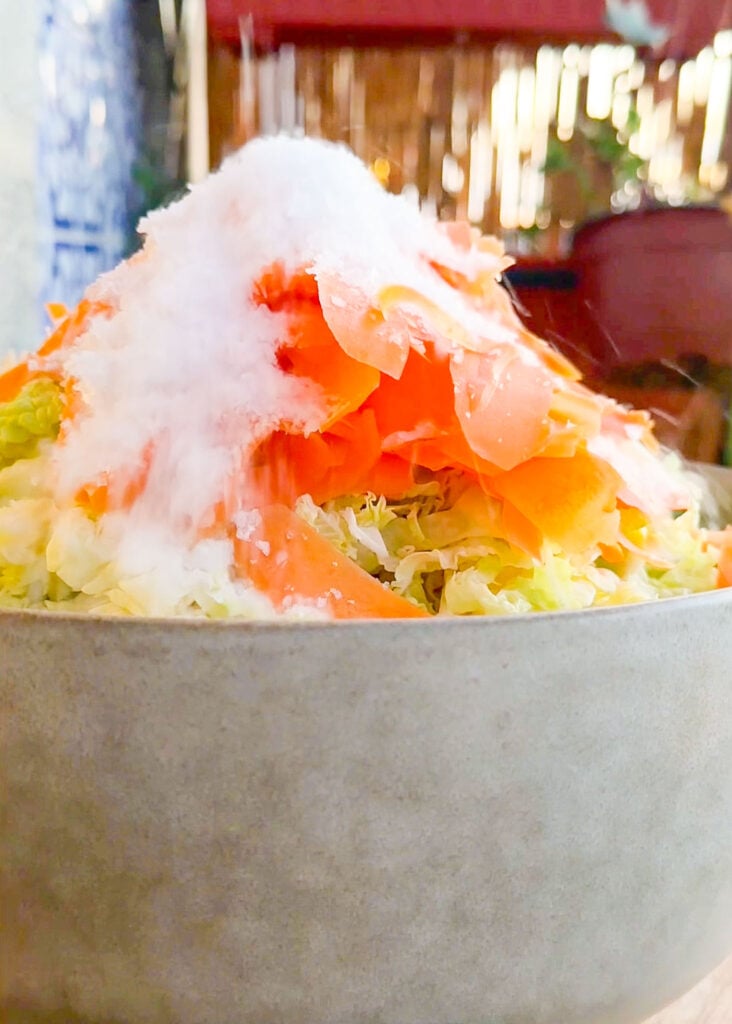
Multiply the total weight of your vegetables by your desired salt percentage. For this batch, I used a 3% salt ratio, which came out to about 37g sea salt for 1210g of vegetables.
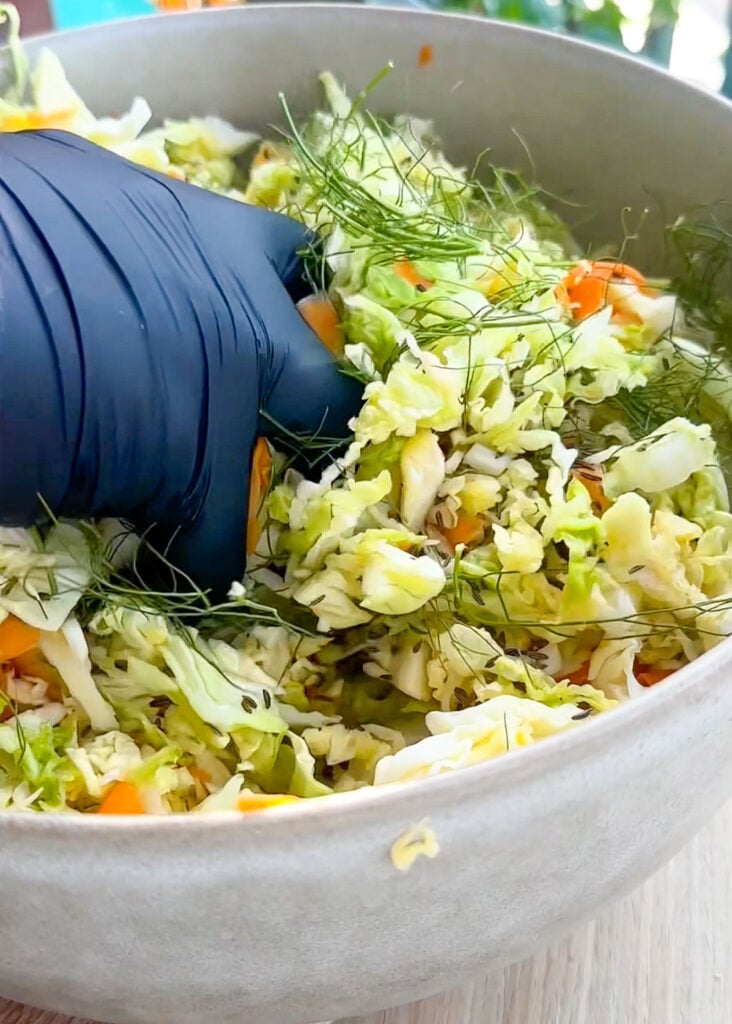
Sprinkle the salt over the cabbage and carrots, then massage everything together with clean hands until the salt is evenly distributed.You can let the mixture sit for about an hour to help draw out more moisture, or cover it and let it rest overnight, which is what I usually do.
When you’re ready to jar the sauerkraut, add any optional flavorings like caraway seeds, fresh dill, or spices.nMassage the mixture again for about 3 to 5 minutes. The cabbage should soften and release more liquid. This liquid becomes your natural brine.
3. Pack the jar
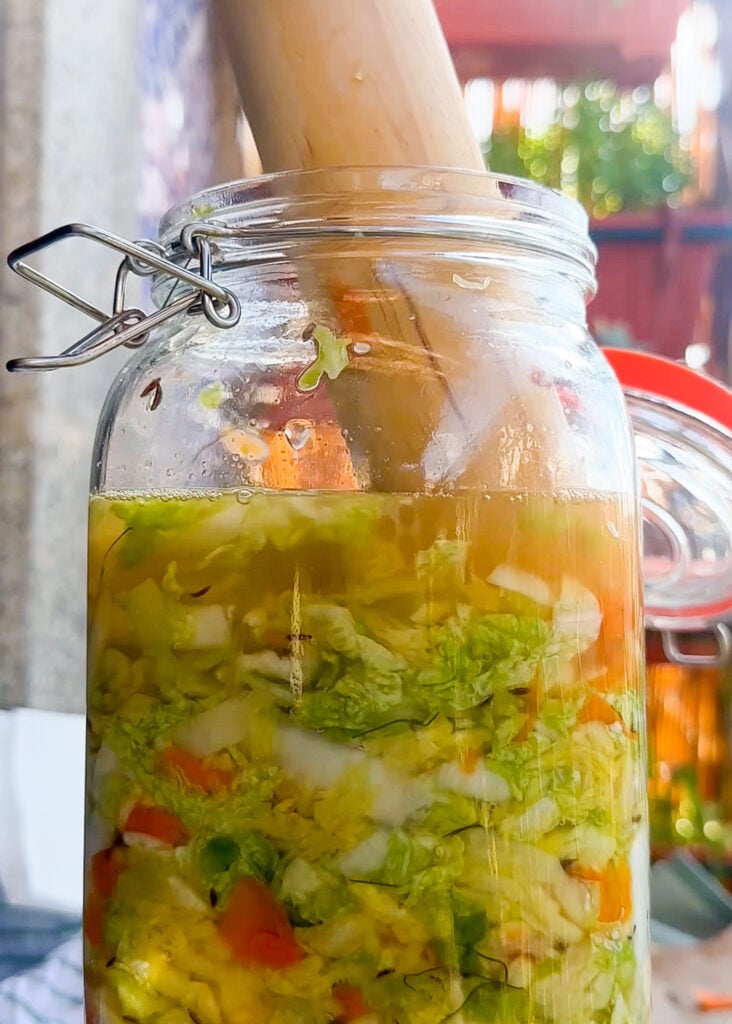
Transfer the cabbage mixture into a clean fermentation jar a little at a time.After each handful, press it down firmly with a fermentation tamper. Continue packing until all the cabbage is in the jar, then pour in any remaining liquid from the bowl.
Place a fermentation weight on top and press down so the cabbage stays completely beneath the brine. If you saved a clean outer cabbage leaf, you can lay it over the shredded cabbage before adding the weight. This helps keep smaller pieces from floating to the surface.
4. Cover and ferment
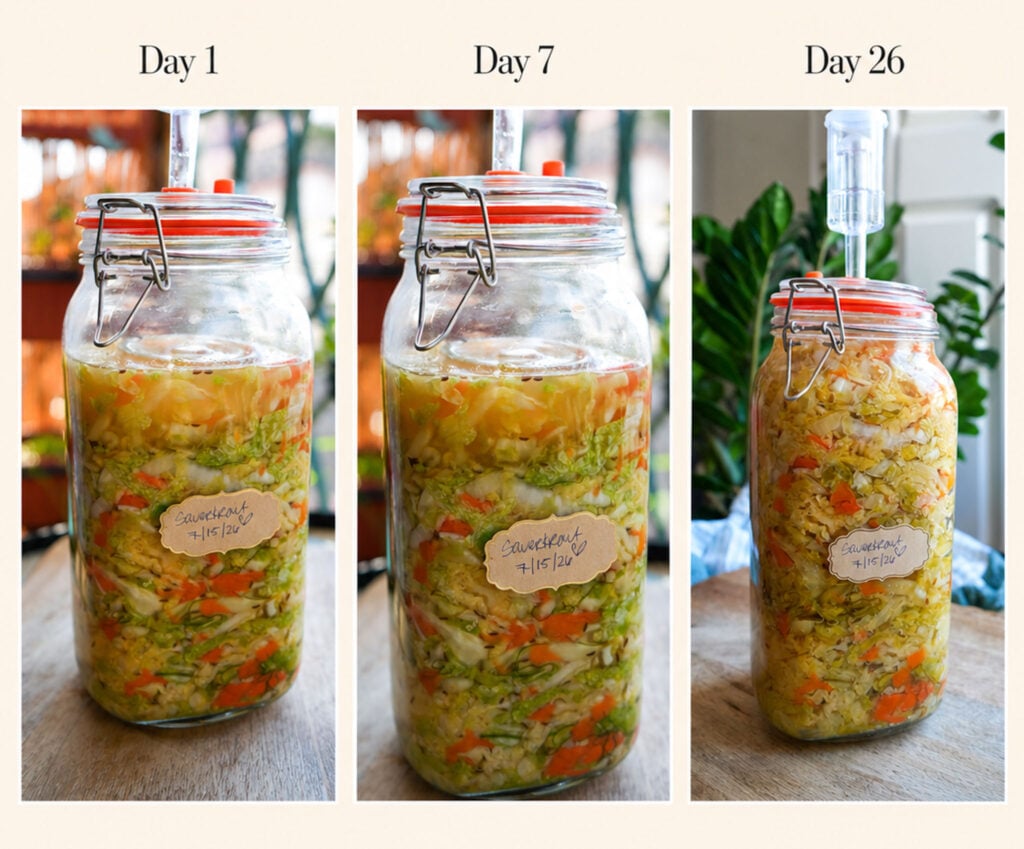
Secure the jar with an airlock lid and place it somewhere out of direct sunlight. A room temperature of about 65°F to 75°F works well. Warmer temperatures speed up fermentation, while cooler temperatures slow it down. If you’re using a regular lid instead of an airlock, burp the jar regularly during the first week to release built-up gas.
7. Taste, then refrigerate
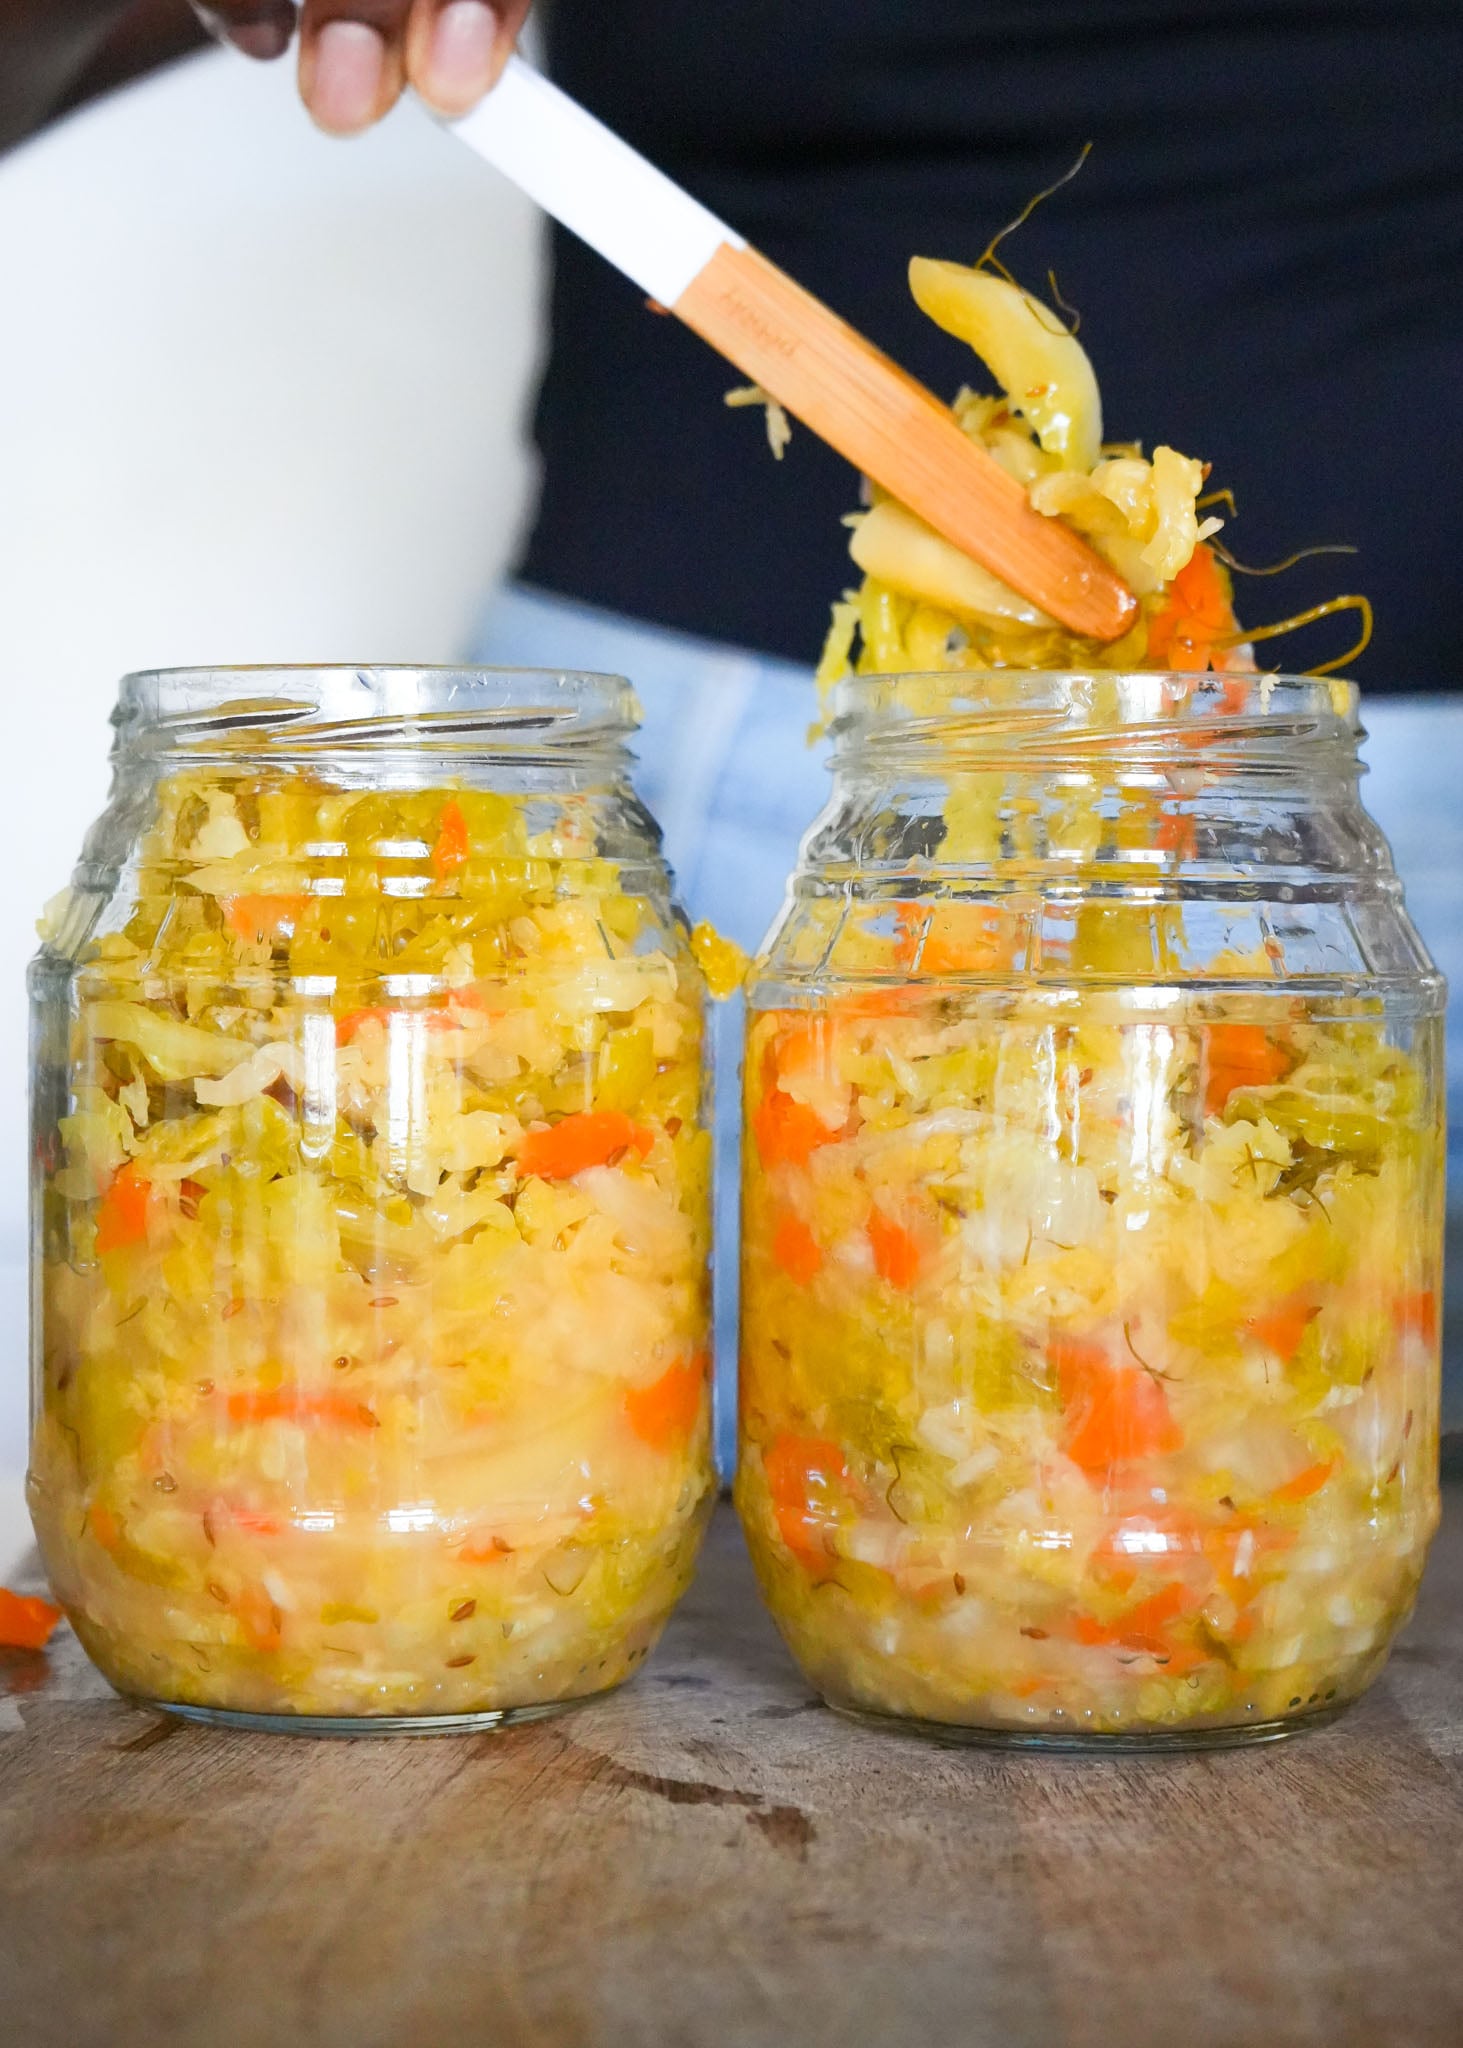
Let the sauerkraut ferment until it reaches the flavor you like. You can start tasting around 2 weeks, but I usually let mine ferment for about 1 month for a deeper, tangier flavor. Once you’re happy with it, transfer the sauerkraut to the refrigerator to slow fermentation.
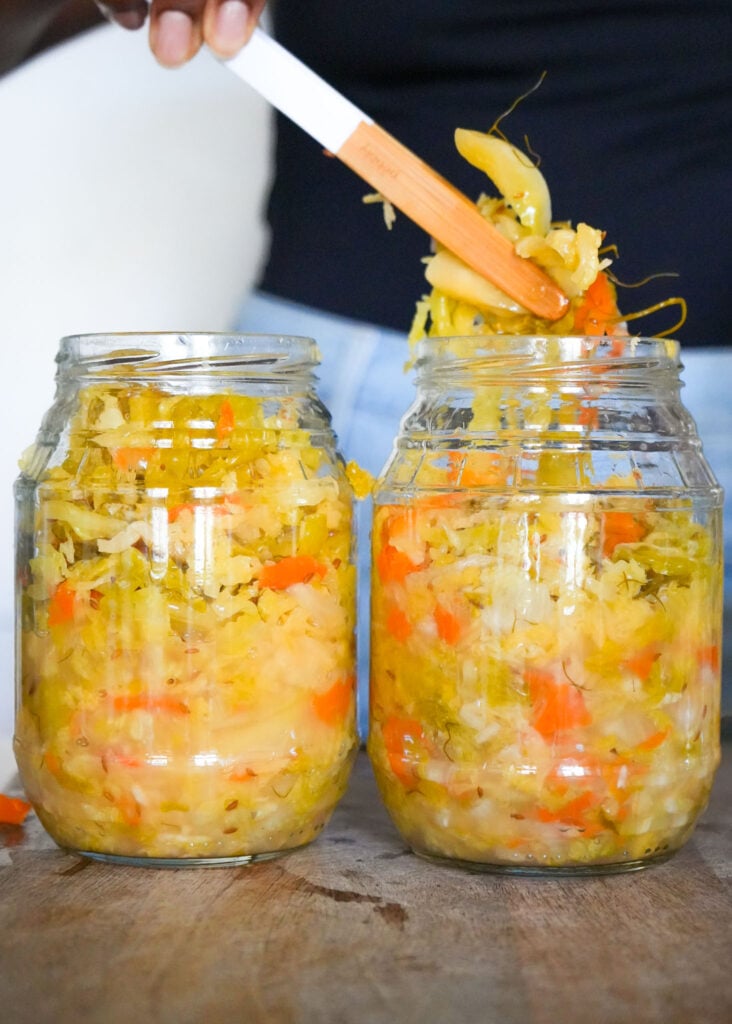
I like to divide mine into smaller jars for easier storage. Pack the sauerkraut down firmly, keep it submerged beneath the brine, and pour any remaining brine over the top before sealing.
No Scale? Use This Simple Salt Guide
A kitchen scale is the most accurate way to make sauerkraut, but you can still make a great batch without one. A good rule of thumb is about 1½–2 teaspoons of fine sea salt per pound (450g) of cabbage, depending on how salty you like your sauerkraut.
For an easy visual guide:
- Small cabbage (about 2 lb): 1–1½ tablespoons salt
- Medium cabbage (about 3 lb): 1½–2 tablespoons salt
- Large cabbage (about 4 lb): 2–2½ tablespoons salt
Because salt crystal sizes vary quite a bit, volume measurements aren’t as precise as weighing. If you plan to ferment regularly, a simple kitchen scale is definitely worth having.
Homemade Sauerkraut (Raw Gut-Friendly Sauerkraut)
Ingredients
- 1 Large Head of Cabbage, shredded I use 1060g of shredded cabbage
- 2% or 3% Sea Salt (see notes) (I use 37g sea salt, which is 3% salt percentage) *Remember: Avoid using iodized table salt and any salt containing anti-caking agents or chemical additives.
Optional Flavorings
- 2-3 teaspoons Caraway Seed (gives that traditional German sauerkraut flavor)
- 3 tablespoons Fresh Dill, chopped
- 2-3 Large Carrots (I use 150g shredded carrots)
Instructions
Prep and weigh the vegetables
Remove any damaged outer leaves from the cabbage, then thinly slice the cabbage and carrots. Place a large mixing bowl on a kitchen scale and zero out the scale. Add the shredded cabbage and carrots to the bowl and note the total weight.For my batch, I use: 1060g cabbage, 150g carrots, 1210g vegetables totalCalculate and add the salt
Multiply the total weight of your vegetables by your desired salt percentage.I used a 3% salt ratio, so for 1210g of vegetables, I added about 37g sea salt.Sprinkle the salt over the cabbage and carrots, then massage everything together thoroughly with clean hands until the salt is evenly distributed. At this point, you can either let the mixture sit for about 1 hour to help draw out more moisture, or do what I prefer and cover the bowl with a clean cloth and let it sit overnight, which is what I like to do.Add the flavorings and massage again
When you are ready to jar the sauerkraut, add the optional caraway seeds, fresh dill, or any other spices and flavorings you are using. Massage the mixture again for a good 3 to 5 minutes. You should notice the cabbage becoming softer and releasing even more liquid. That liquid is what will become your natural brine.Pack the jar
Transfer the cabbage mixture into a clean fermentation jar a little at a time.After adding each handful, use a fermentation tamper to press the mixture down firmly. This helps remove trapped air, compacts the vegetables, and encourages even more liquid to rise out of the cabbage. Continue adding and tamping until all of the mixture is packed into the jar. Pour any remaining liquid from the bowl into the jar. By the time you are finished, you want enough natural brine to eventually cover the cabbage. (if you don't see note*)Keep everything submerged
Place a fermentation weight on top of the cabbage and press down firmly so the vegetables sit beneath the brine.If you saved a clean outer cabbage leaf, you can place it over the shredded vegetables before adding the weight to help keep smaller pieces from floating to the surface. Keeping the cabbage submerged in the brine is one of the most important parts of successful fermentation.Add the airlock and ferment
Secure the jar with an airlock lid and place it somewhere out of direct sunlight. A room temperature around 65°F to 75°F works well. Warmer temperatures will speed up fermentation, while cooler temperatures will slow it down.If you are not using an airlock, you will need to burp the jar regularly during week one, which is the most active stage of fermentation.Let it ferment, then refrigerate
Let the sauerkraut ferment at room temperature until it reaches the flavor you like. You can begin tasting it around 2 weeks, but I let mine ferment for about 1 month for a deeper, tangier flavor.Once you are happy with the taste, transfer the sauerkraut to the refrigerator. The colder temperature dramatically slows the fermentation process and helps preserve the flavor and texture you have developed.
Video

Notes
How Much Salt Should I Use for Sauerkraut?
The most reliable way to measure salt is by weight. A 2–3% salt ratio works well for sauerkraut, meaning you’ll use 20–30 grams of salt for every 1,000 grams (1 kg) of vegetables. I personally use 3% because I like the results, especially for longer ferments. Temperature also matters. Sauerkraut ferments faster in a warm kitchen and more slowly in a cool one. I recommend keeping your ferment around 65–75°F (18–24°C) when possible rather than trying to compensate for very warm temperatures by simply adding more salt. Quick formula:Weight of vegetables × 0.03 = grams of salt
So, 1,000g cabbage × 0.03 = 30g salt.
No Scale? Use This Simple Salt Guide
A kitchen scale is the most accurate way to make sauerkraut, but you can still make a great batch without one. A good rule of thumb is about 1½–2 teaspoons of fine sea salt per pound (450g) of cabbage, depending on how salty you like your sauerkraut. For an easy visual guide:- Small cabbage (about 2 lb): 1–1½ tablespoons salt
- Medium cabbage (about 3 lb): 1½–2 tablespoons salt
- Large cabbage (about 4 lb): 2–2½ tablespoons salt
Nutrition
Tips for Making the Best Homemade Sauerkraut
Sauerkraut is incredibly simple to make, but a few small details can make the difference between a great ferment and one that doesn’t turn out quite right. Here are the five things I pay the most attention to with every batch.
- Weigh Your Cabbage and Salt. A kitchen scale takes the guesswork out of fermentation. Weigh your vegetables first, then calculate your salt based on that weight. I use a 3% salt ratio for my sauerkraut, which means 30 grams of salt for every 1,000 grams of vegetables.
- Give the Salt Time to Work. After adding the salt, massage it into the cabbage and give it time to draw out the natural moisture. You don’t need to add water, the cabbage should eventually create its own brine. Let it sit in the salt for at least one hour. I often let mine sit covered overnight before packing the jar.
- Pack It Tightly and Keep It Submerged. Press the cabbage firmly into the jar to remove air pockets and bring the brine to the surface. Add a fermentation weight and make sure all of the cabbage stays below the brine throughout fermentation. Exposure to oxygen is one of the biggest causes of unwanted yeast and mold.
- Don’t Panic When It Starts Bubbling. Bubbles, fizzing, and even some brine rising in the jar are all normal signs that fermentation is active. During the first week especially, lactic acid bacteria are converting the cabbage’s sugars into acids and producing gases along the way. Leave some headspace to help prevent overflowing, and burp regularly if you’re using a standard sealed lid.
- Let Flavor Tell You When It’s Ready. There isn’t one exact day when sauerkraut is “done.” Temperature, salt percentage, and personal preference all affect fermentation time. Start tasting around 2 weeks and refrigerate it when you’re happy with the flavor. I prefer mine around the one-month mark because it develops a deeper tang while still keeping a nice crunch.
Gut-Friendly & Naturally Probiotic
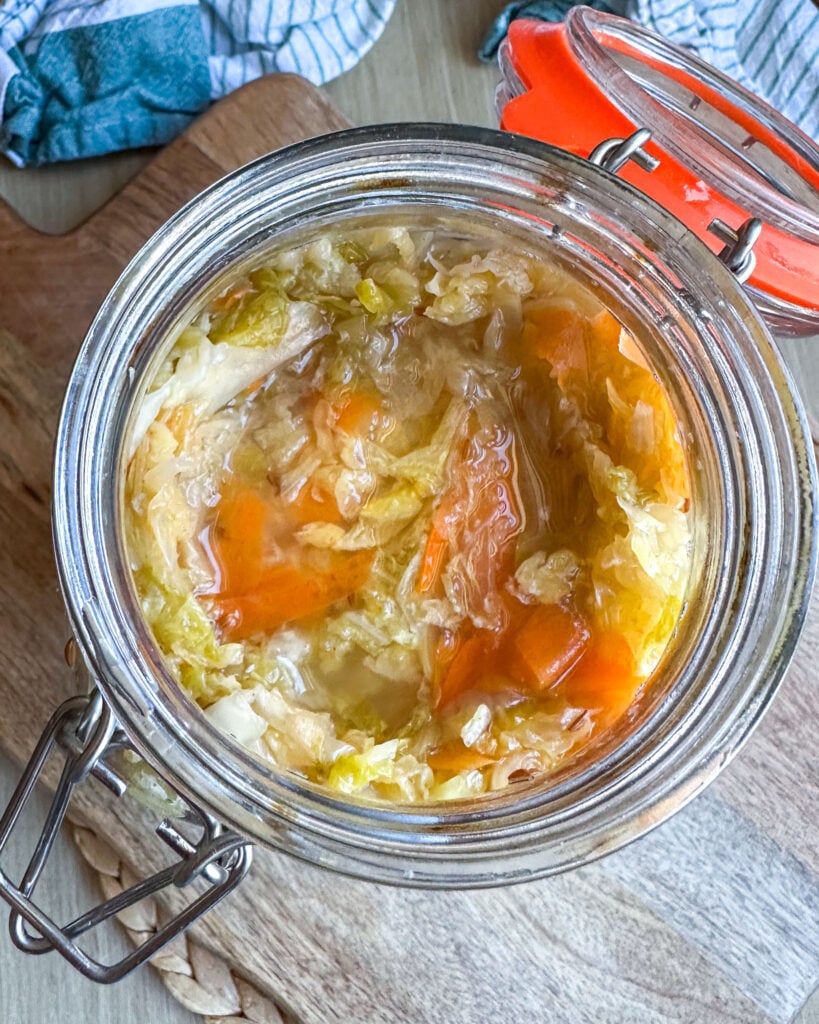
One of my favorite reasons to make homemade sauerkraut is that it’s naturally packed with live beneficial bacteria created during lacto-fermentation. As the cabbage ferments, lactic acid bacteria feed on its natural sugars and produce lactic acid, giving sauerkraut its signature tang while helping preserve it.
When enjoyed regularly as part of a balanced diet, fermented foods like sauerkraut can help support a diverse gut microbiome and healthy digestion. And because homemade sauerkraut isn’t pasteurized, those live cultures remain intact. Just make sure you enjoy it raw rather than heating it if you want to preserve the beneficial bacteria.
Want to try more fermentation recipes? I am literally obsessed with all things fermentation. Here are some of my favorite beginner friendly recipes: