Delicious No-Bake Vegan Mini Cheesecakes
These Delicious Vegan Mini No-bake Cheesecakes are made with just a few simple ingredients: luscious cashew cream, sweet coconut cream, a few natural sweeteners (no refined sugars here!) with a hint of lemon juice and vanilla.
Print
Pin
Servings: 12 cheesecakes
Calories: 297kcal
Equipment
- Blender or Food Processor
- Muffin Tin
- Parchment Paper
Ingredients
Crust
- 1 1/2 cup Pitted Dates
- 1 cup Almond Meal
- 1/4 tsp Sea Salt
Cheesecake Filling
- 1 1/2 cup Cashews, soaked*
- 1 cup Coconut Cream
- 1/4 cup Agave Nectar
- 1/4 cup Maple Syrup
- 1/3 cup Coconut Oil, melted
- 2 tbsp Coconut Sugar
- 1 tsp Vanilla Extract
- 1 Lemon, juiced
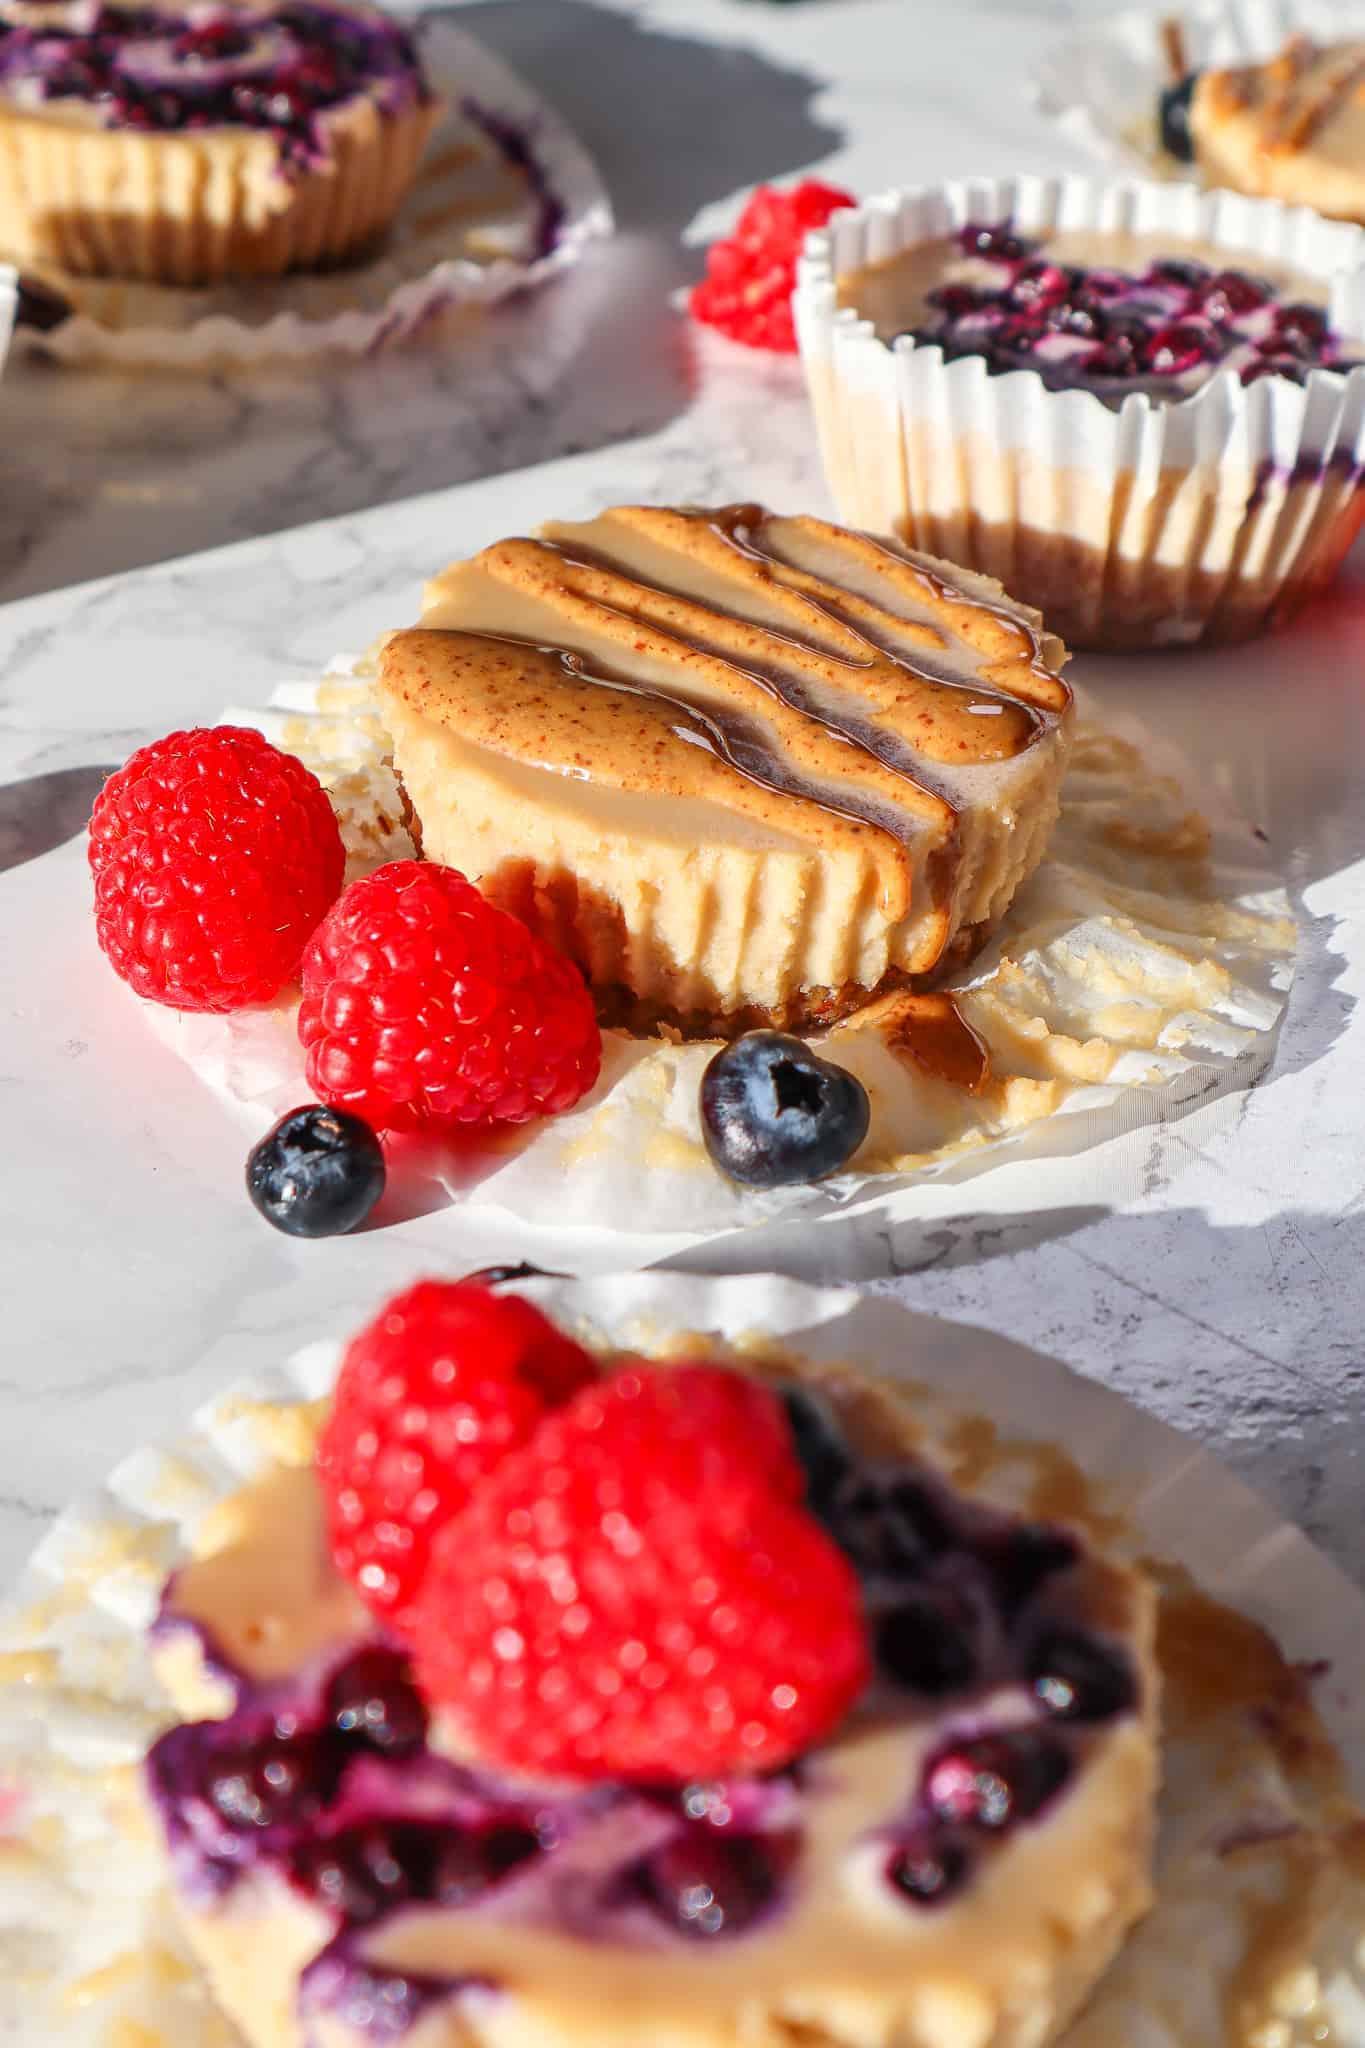
Optional Toppings
- 1/4 cup Almond Butter
- 1/3 cup Frozen Blueberries
- 1/3 cup Muddled Raspberries
Instructions
- In a medium saucepan, boil 2 cups of water. Place the cashews in a medium sided bowl. Once the water is boiling, pour the water over the cashews and soak the cashews for at least 15 minutes and set aside. When the cashews are ready to use, be sure to pour out the water.
- In a Food Processor with an S shaped blade, or blender, blend the dates and almond meal together until it forms a sticky chunky consistency. If the mixture is too dry, add 1-2 more dates.
- Take about 1-2 tablespoons of the mixture and transfer the mixture to a parchment-lined muffin tin. (The parchment paper makes the cheesecakes easy to remove when they are ready to enjoy). An easy trick to smooth the crust along the bottom of the muffin tin is to take a small glass, line it with parchment paper at the bottom and press the glass into the opening until the crust is smooth. Place the muffin tin into the fridge until later.
- In the blender, combine all of the cheesecake filling ingredients and blend until smooth, at least 2-3 minutes. (If you are adding peanut butter, now is the time to blend it in with the ingredients)
- Remove the muffin tin with the crust from the fridge. Pour the cheesecake filling into the muffin tin openings.
- Next, add your favorite toppings. Then, cover the muffin tin with plastic wrap and put into the freezer and allow the cheesecakes to set for at least 2 hours.
- After at least 2 hours, simply remove the cheesecakes from the freezer. Let the cheesecake sit out at room temperature for 20 minutes for the optimal texture. Top with your favorite fresh fruit, chocolate, or whipped cream, and Enjoy!
Notes
- Allow the cheesecake to set for at least 2 hours in the freezer. When you are ready to eat the cheesecake simply remove them from the freezer. You can eat the cheesecake straight out of the freezer, or allow it to soften at room temperature for 15-20 minutes before enjoying it. Both ways are delicious!
- You can keep any leftover cheesecake (covered) in the fridge for up to 3 days. The texture will be soft and luscious. If you do not plan to eat the cheesecake within 3 days, keep the cheesecake in the freezer until you are ready to enjoy it!
- This cheesecake keeps perfect in the freezer! You can make it and store it in the freezer for up to 2 weeks, enjoying a slice as you like!
- Try the cheesecake with coconut whipped cream on top! This one is my favorite.
Nutrition
Calories: 297kcal